How to Stop Cheese Sticking to a Knife: 7 Expert Techniques That Actually Work
Cutting cheese should feel effortless—smooth slices, clean edges, and perfect presentation. But in reality, many people face the same annoying issue: cheese sticking to the knife, tearing instead of slicing, and leaving a messy blade that ruins both texture and presentation.
This problem is especially common when working with soft and semi-soft cheeses like Brie, mozzarella, cream cheese, and even young cheddar. The sticking happens because cheese is a complex food matrix made of water, fat, and proteins that react strongly to pressure and metal surfaces.
The good news is that cheese sticking is not random—it follows predictable physical and chemical principles. Once you understand those, you can eliminate the problem using simple kitchen techniques, proper tools, and small adjustments in temperature and cutting method.
This guide breaks down 7 professional-level methods used by chefs, cheesemongers, and culinary experts to ensure every slice is clean, smooth, and visually perfect.
Table of Contents
Why Does Cheese Stick to Knives? The Science Behind the Problem
To solve the issue permanently, you first need to understand what is actually happening at the microscopic level when cheese meets a knife.
Surface Tension and Moisture Content
Cheese is a highly moisture-sensitive food. Wide varieties contain 30%–60% water, trapped inside a protein-fat matrix.
When a knife presses into cheese:
- Water molecules create a thin adhesive layer
- Proteins (mainly casein) bind to metal surfaces
- Fat softens under pressure and increases stickiness
Casein, in particular, behaves like a natural adhesive. It is even used in industrial glue production, which explains why cheese clings so strongly to metal.
Key Scientific Insight: Sticky cheese is essentially a temporary protein glue forming between the blade and the food surface.
Blade Geometry and Contact Area
Another major factor is the shape of the knife itself.
A standard kitchen knife has:
- Wide blade surface
- Flat contact area
- Smooth stainless steel finish
This creates maximum adhesion because:
- More surface area = more cheese contact
- Smooth steel = higher suction effect
- Flat geometry = no air pockets
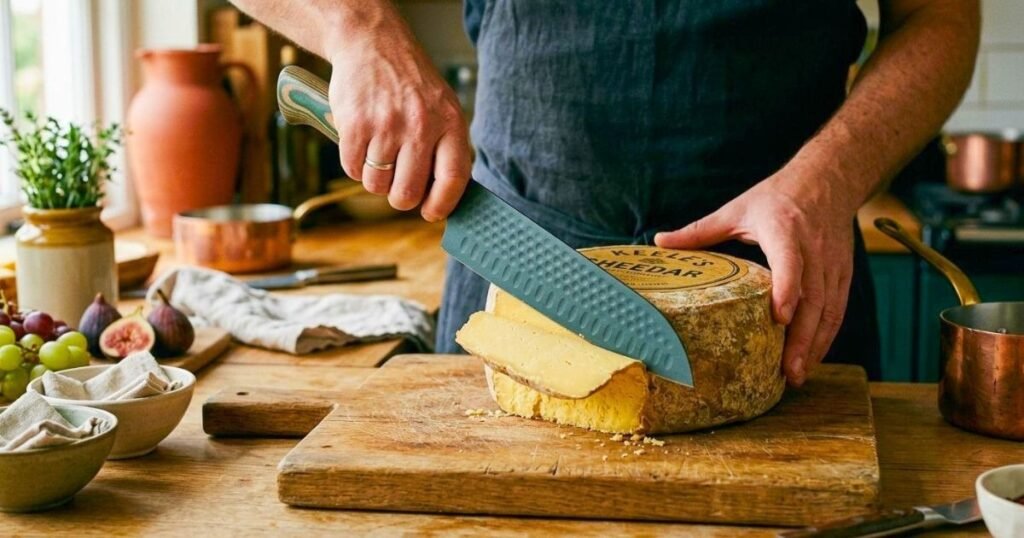
That’s why specialized cheese knives look unusual—they are designed specifically to break this suction effect.
Temperature and Fat Behavior
Cheese is extremely temperature-sensitive:
- Cold cheese = brittle, crumbly, resistant to clean slicing
- Warm cheese = soft, sticky, adhesive
Fat molecules begin to soften at room temperature, making cheese more prone to sticking.
Quick Science Summary Table
| Factor | Effect on Cheese | Result |
| High moisture | Creates adhesion layer | Creates an adhesion layer |
| Casein proteins | Acts like glue | Cheese clings to knife |
| Wide blade surface | Increases contact | Cheese clings to the knife |
| Room temperature | Softens fat | Smearing |
| Cold temperature | Hardens structure | Crumbling |
7 Proven Methods to Prevent Cheese from Sticking to Your Knife
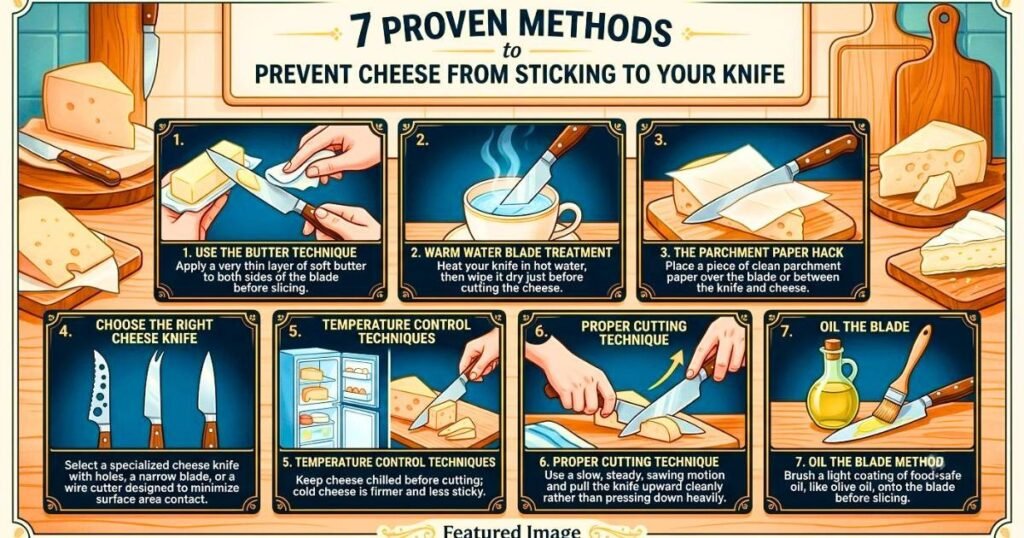
Now we move from science to real-world solutions used in kitchens, restaurants, and cheese boards worldwide.
Method 1: Use the Butter Technique
This is one of the oldest and most reliable tricks used in home kitchens and gourmet cheese boards.
Step-by-Step Process
- Take a cold stick of butter
- Lightly rub it on both sides of the knife blade
- Ensure a thin, even coating
- Start slicing cheese normally
Why It Works: Butter contains fat that forms a hydrophobic barrier.
Meaning:
- It repels water in cheese
- Prevents protein bonding
- Reduces friction dramatically
Best Cheese Types:
- Brie
- Camembert
- Cream cheese blocks
- Soft goat cheese
Pro Tip: Reapply butter every 4–6 slices for consistent results.
Method 2: Warm Water Blade Treatment
This method is widely used in professional kitchens for semi-soft cheeses.
Steps
- Dip the knife in hot water for 10–15 seconds
- Wipe completely dry
- Cut immediately while the blade is warm
What Happens Scientifically
- Heat slightly melts surface fats
- Creates a temporary lubrication layer
- Reduces protein adhesion
Important Warning: Never cut with a wet blade—water can ruin cheese texture.
Method 3: The Parchment Paper Hack
This is a presentation-friendly method used in catering and food styling.
Technique
- Place parchment paper over the cheese block
- Cut directly through paper + cheese
- Peel the paper after slicing
Benefits
- Zero sticking
- Perfect slice edges
- Professional presentation
- No blade cleaning required during cutting
Best For
- Charcuterie boards
- Catering events
- Instagram food styling
Method 4: Choose the Right Cheese Knife
The knife itself is often the real solution.
Why Special Cheese Knives Work
They reduce surface adhesion by design.
Comparison Table
| Knife Type | Design Feature | Best Use |
| Perforated knife | Air holes reduce contact | Soft cheese |
| Wire cutter | Minimal surface area | Very soft cheese |
| Serrated knife | Reduces suction | Semi-hard cheese |
| Thin-bladed knife | Low friction slicing | Hard cheese |
| Thin-bladed knife | Low-friction slicing | Very hard cheese |
Method 5: Temperature Control Techniques
Temperature is one of the most overlooked factors.
Soft Cheese Strategy
- Chill for 15–20 minutes
- Improves structural firmness
- Reduces smearing
Hard Cheese Strategy
- Leave at room temperature for 20–30 minutes
- Prevents crumbling
- Enhances clean slicing
Ideal Temperature Guide
| Cheese Type | Best Temperature |
| Brie | Slightly chilled |
| Cheddar | Room temperature |
| Parmesan | Room temperature |
| Mozzarella | Lightly chilled |
Method 6: Proper Cutting Technique
Even with the right knife, technique matters.
Professional Method
- Use a smooth slicing motion
- Avoid sawing back and forth
- Apply steady pressure
- Lift cleanly after cut
Common Mistakes
- Pressing too hard
- Jerking motion
- Cutting too slowly
Method 7: Oil the Blade Method
This is a more refined alternative to butter.
How It Works: A thin oil layer reduces friction and prevents protein bonding.
Steps
- Apply a tiny amount of neutral oil
- Spread evenly using a cloth
- Wipe excess completely
- Cut immediately
Best Oils
- Canola oil
- Grapeseed oil
- Sunflower oil
Avoid: Olive oil (strong flavor)
Best Cheese Knives for Different Types of Cheese
Choosing the right knife is one of the most important factors in preventing cheese from sticking. Professional cheesemongers rarely rely on a single knife—instead, they use specialized tools designed for specific textures.
Each cheese type behaves differently depending on its moisture level, fat content, and aging process. That means the ideal knife must match the cheese’s structure.
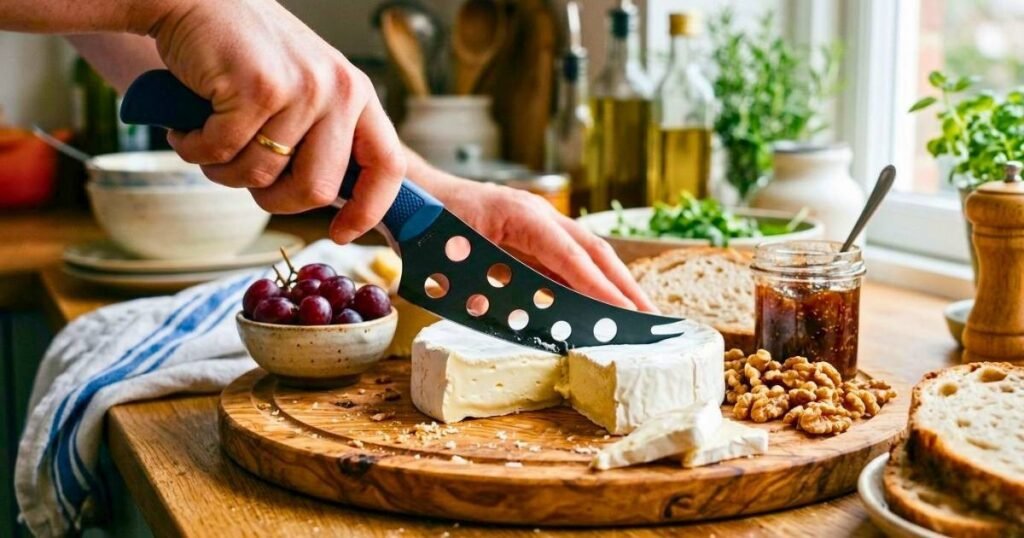
Soft Cheese Knives (Brie, Camembert, Goat Cheese)
Soft cheeses are the most problematic because they are high in moisture and fat. They tend to smear easily and stick heavily to flat blades.
Best Tools:
- Perforated cheese knives
- Cheese wire cutters
- Narrow spatula-style blades
- Fork-tip serving knives
Why They Work:
- Reduced blade surface area
- Air pockets prevent suction
- Minimal drag on soft curds
Semi-Soft Cheese Knives (Havarti, Monterey Jack, Young Cheddar)
Semi-soft cheeses require a balance between structure and glide.
Best Tools:
- Thin stainless steel knives
- Light serrated knives
- Hollow-edged slicers
Key Advantage: They reduce friction while maintaining control over shaping slices.
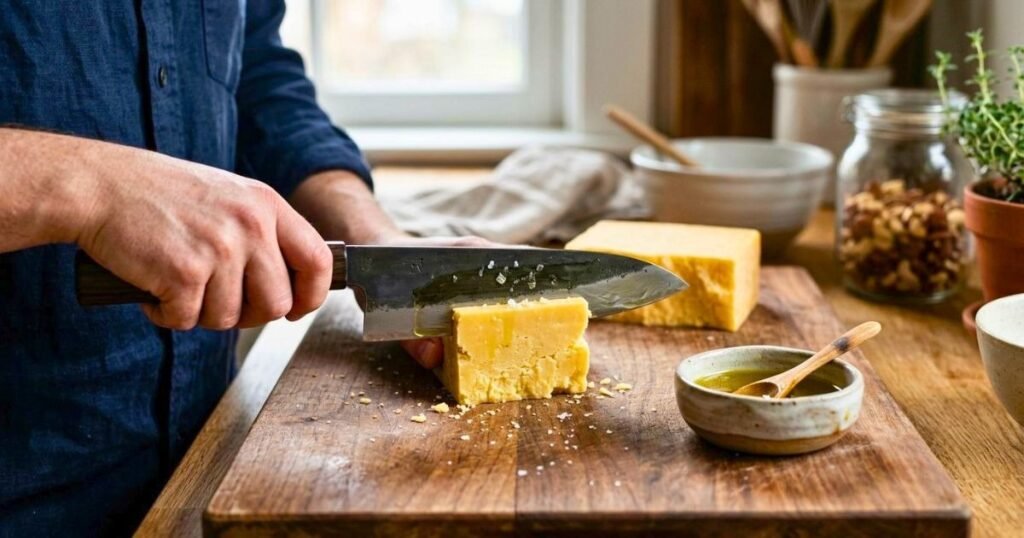
Hard Cheese Knives (Aged Cheddar, Parmesan, Pecorino)
Hard cheeses require force and precision.
Best Tools:
- Cheese chisels
- Parmesan knives
- Heavy-duty cleavers
- Short rigid blades
Why: Hard cheeses don’t stick easily but can crack or crumble without proper leverage.
Very Soft / Spreadable Cheeses (Ricotta, Cream Cheese)
These are the most challenging for clean slicing.
Best Tools:
- Cheese wire
- Silicone spatula
- Heated spoon method
- Non-stick coated knives
Expanded Knife Comparison Table
| Cheese Type | Best Knife Type | Key Feature | Performance |
| Brie / Camembert | Perforated knife | Thin-bladed knife | Excellent |
| Mozzarella | Wire cutter | Minimal contact | Perfect |
| Cheddar | Serrated knife | Controlled slicing | Very good |
| Parmesan | Cheese chisel | Force cutting | Excellent |
| Cream cheese | Silicone spatula | Non-stick surface | Ideal |
| Gouda | Thin blade knife | Low resistance | Very good |

Common Cheese Cutting Mistakes to Avoid
Even with good tools, improper technique can still cause sticking, tearing, or a messy presentation.
Using a Standard Chef’s Knife for Everything
This is the most common mistake.
Problem:
- Too much surface contact
- Flat blade increases adhesion
- No air gap between cheese and steel
Result:
- Sticky buildup and uneven slices.
Cutting Cheese Straight from the Fridge
Cold cheese is structurally rigid.
Issue:
- Cracks instead of slicing
- Uneven resistance
- Increased sticking on blade edges
Fix:
- Allow cheese to rest at room temperature before cutting.
Not Cleaning the Knife Between Cuts
Residue builds up quickly, especially with soft cheeses.
Consequences:
- Increased friction
- Flavor mixing
- Uneven slicing texture
Using Dull Knives
A dull blade compresses rather than slices.
Effects:
- Smearing instead of cutting
- Greater adhesion
- Loss of control
Incorrect Cutting Direction
Sawing motion creates friction heat.
Result:
- Melted cheese layer
- Sticky blade
- Broken texture

Professional Chef Techniques
Chefs and cheesemongers use advanced methods that ensure perfect presentation every time.
The “Single Stroke Slice”
Used in high-end restaurants:
- One continuous motion
- No back-and-forth movement
- Clean exit angle
This reduces friction and prevents sticking buildup.
Cheese Wire Precision Cutting
Chefs use wire tools for:
- Perfect uniform slices
- Zero blade resistance
- Clean separation without compression
Blade Temperature Cycling
In professional kitchens:
- The knife is dipped in hot water
- Wiped dry
- Used immediately
- Reheated if necessary
This keeps cutting friction consistently low.
Rotation Cutting Technique
For large cheese blocks:
- Rotate the cheese instead of the knife
- Maintain a consistent slicing angle
- Prevents uneven pressure zones
Troubleshooting Specific Cheese Types
Each cheese category behaves differently. Here’s how to handle problem varieties.
Extra Sticky Cheeses (Mozzarella, Burrata)
Problem:
- Extremely high moisture content.
Solution:
- Chill before slicing
- Use a wire cutter
- Avoid metal blade contact when possible
Crumbly Cheeses (Feta, Blue Cheese)
Problem:
- Breaks apart instead of slicing.
Solution:
- Use chilled cheese
- Cut with minimal pressure
- Use a thin blade or a wire
Wax-Coated Cheeses
Problem:
- Wax interferes with clean cuts.
Solution:
- Score wax first
- Peel before slicing
- Use firm downward pressure
Aged Hard Cheeses (Parmesan)
Problem:
- Splitting or breaking irregularly.
Solution:
- Break along natural grain lines
- Use a cheese chisel
- Apply controlled force
Alternative Tools and Gadgets
Modern kitchens offer many tools beyond traditional knives.
Cheese Wire Cutters
Best for soft cheeses.
Benefits:
- Zero sticking
- Cleanest possible cut
- Professional presentation
Non-Stick Coated Knives
These use Teflon-like coatings.
Advantages:
- Smooth glide
- Reduced residue buildup
- Easy cleaning
Electric Cheese Slicers
Used in commercial environments.
Features:
- Uniform slices
- Fast processing
- Ideal for large quantities
Cheese Planers
Used for semi-hard cheeses.
Function:
- Produces thin slices
- Minimal resistance
- Great for sandwiches and boards

Frequently Asked Questions: How to Stop Cheese Sticking to a Knife?
Q. Why does cheese stick to my knife?
- Because moisture, fat, and casein proteins in cheese bond to the metal surface during cutting.
Q. What is the fastest way to stop cheese sticking?
- Using a warm blade or a perforated cheese knife gives the quickest clean-cut result.
Q. Does a wet knife help cut cheese?
- Yes, a warm or slightly wet blade reduces friction, but it must be dried before use.
Q. Why do cheese knives have holes?
- The holes reduce surface contact and prevent suction between cheese and blade.
Q. Can I use olive oil on a cheese knife?
- It is possible, but not ideal, because it affects flavor and can feel greasy.
Q. What cheese is hardest to cut cleanly?
- Soft, high-moisture cheeses like Brie, mozzarella, and cream cheese are the most difficult.
Q. Should cheese be cold or room temperature for cutting?
- Soft cheese should be slightly chilled, while hard cheese is best at room temperature.
Q. Do dull knives make cheese stick more?
- Yes, dull blades compress cheese instead of slicing it, increasing sticking and mess.
Q. Is a cheese wire better than a knife?
- Yes, for soft cheeses, it provides the cleanest and most professional cut.
Q. How do chefs prevent cheese from sticking?
- They use specialized knives, warm blades, and single-stroke slicing techniques.
Q. Can butter really stop cheese sticking?
- Yes, a thin layer of butter creates a fat barrier that prevents adhesion.
Q. Why does cheese smear instead of being sliced?
- This happens when the knife is too dull, too warm, or used with incorrect technique.
Q. How often should I clean my knife while cutting cheese?
- After every few slices, especially when working with soft or sticky cheeses.
Q. What is the best all-purpose cheese knife?
- A thin serrated or perforated cheese knife works best for most cheese types.
Conclusion
Cheese sticking to a knife is not just a kitchen annoyance—it is a predictable interaction between food chemistry, temperature, and tool design. Once you understand these factors, you can completely eliminate messy slicing and improve presentation instantly.
The most effective solutions combine three principles:
- Proper temperature control
- The right knife selection
- Low-friction cutting techniques
Simple methods like warm water blades or perforated cheese knives are often enough for everyday use. For more advanced results, professionals rely on wire cutting systems, blade cycling techniques, and precision slicing motions.
With the right approach, cheese cutting transforms from a frustrating task into a smooth, controlled, and enjoyable culinary experience. Whether you’re preparing a simple snack or an elegant charcuterie board, mastering these techniques ensures every slice looks as good as it tastes.