How to Make a 3 Tier Serving Tray: Simple & Budget-Friendly DIY Project
A beautifully designed 3-tier serving tray is one of the most versatile pieces you can add to your home. Whether you’re displaying cupcakes at a birthday party, organizing coffee essentials in your kitchen, creating a seasonal centerpiece, or showcasing decorative accents, a tiered tray instantly adds height, style, and functionality to any space.
The popularity of tiered trays has grown tremendously in recent years because they combine practical storage with decorative appeal. Instead of taking up valuable countertop space, a three-tier design allows you to maximize vertical space while creating an eye-catching display. From farmhouse kitchens and rustic dining rooms to modern apartments and holiday tablescapes, tiered trays fit almost every decorating style.
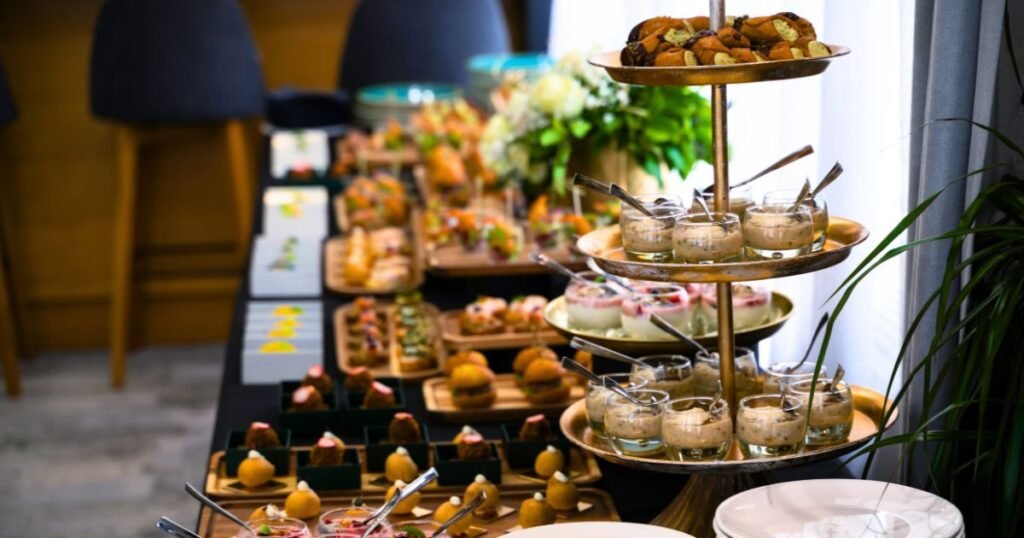
This detailed guide will walk you through every stage of the process—from selecting materials and planning your design to assembling the tiers and styling your finished creation. Whether you’re a complete beginner or an experienced DIY enthusiast, you’ll find plenty of ideas, expert tips, and practical advice to help you create a beautiful tray that looks professionally made.
Table of Contents
What You Need: Tools and Materials?
One of the biggest advantages of making your own tiered serving tray is the flexibility it offers. You don’t need expensive woodworking equipment or specialized crafting supplies. In fact, many DIYers create stunning trays from thrift-store finds, dollar-store materials, and repurposed household items.
Before beginning your project, gather your supplies and decide on the style you want to create. A rustic farmhouse tray will require different materials than a modern metallic tray or a vintage-inspired decorative stand.
The materials you choose will influence:
- Overall appearance
- Weight and stability
- Durability
- Food-serving capability
- Cost of the project
- Ease of assembly
Let’s explore your options.
Tray & Base Options
The trays themselves form the foundation of the entire project. They determine the overall aesthetic and provide the surfaces you’ll use for decorating or serving.
Fortunately, almost any flat-bottomed object can become a tier in your serving tray.
Ceramic Plates
Ceramic plates are among the most popular choices because they are readily available and come in countless designs.
Benefits include:
- Elegant appearance
- Durable surface
- Easy cleaning
- Food-safe material
- Wide variety of patterns
You can use matching plates for a polished appearance or mix different styles for a vintage or eclectic look.
Thrift stores are excellent places to find inexpensive ceramic plates. Many people create stunning tiered trays for less than $15 using secondhand dishware.
Popular plate combinations include:
- Dinner plate, salad plate, dessert plate
- Charger plate, salad plate, saucer
- Vintage floral patterns
- Neutral farmhouse whites
- Color-coordinated seasonal designs
Wooden Rounds
Wooden rounds are ideal for rustic, farmhouse, Scandinavian, and modern decor styles.
Advantages include:
- Easy customization
- Lightweight construction
- Paintable surface
- Stain-friendly finish
- Natural appearance
Most craft stores sell pre-cut wooden rounds in various sizes.
Popular wood choices include:
- Pine
- Birch
- Poplar
- Oak
- Cedar
Wood rounds also allow you to personalize your tray using:
- Wood burning
- Stenciling
- Vinyl decals
- Painted designs
- Distressing techniques
A wooden tier tray is often easier for beginners because wood is simpler to drill and modify than ceramic or glass.
Metal Trays and Pans
Metal trays provide a unique industrial or farmhouse appearance.
Common options include:
- Pizza pans
- Pie tins
- Baking trays
- Galvanized metal plates
- Decorative metal chargers
Metal offers several advantages:
- Lightweight
- Durable
- Budget-friendly
- Easy to paint
Dollar stores frequently carry metal pans that work perfectly for tiered tray projects.
Many farmhouse-style DIY tier trays use:
- White-painted pizza pans
- Black matte trays
- Distressed galvanized finishes
- Antique bronze metallic coatings
Glass Plates
Glass creates a sophisticated and elegant look.
Benefits include:
- Reflective surface
- Luxurious appearance
- Easy cleaning
- Excellent for dessert displays
However, glass can be more difficult to drill and requires extra care during assembly. If you’re using glass, many DIYers prefer adhesive-based construction rather than drilling.
Repurposed Household Items
Creative DIYers often think beyond traditional materials.
Possible options include:
- Vintage serving platters
- Wooden cutting boards
- Cake stands
- Decorative trays
- Old cabinet shelves
- Salvaged furniture pieces
Repurposing materials not only saves money but also creates a truly one-of-a-kind serving tray.
Center Posts & Hardware
The center posts are what give the tray its height and support. Choosing the right support system is essential for stability and durability.
The posts act as structural pillars connecting each tier.
Candleholders
Candleholders remain one of the most popular DIY solutions.
Why they’re ideal:
- Flat top and bottom surfaces
- Attractive appearance
- Available in many styles
- Easy to glue
- Inexpensive
Popular options include:
- Glass candleholders
- Wooden candleholders
- Metal candleholders
- Vintage brass holders
By using different heights, you can customize the spacing between tiers.
Wooden Dowels
Wooden dowels provide a simple and affordable solution.
Benefits:
- Easy to cut
- Lightweight
- Customizable height
- Strong support
You can paint or stain dowels to match your tray design. For rustic trays, thicker dowels often create a handcrafted farmhouse appearance.
Furniture Spindles
Repurposed furniture components add character and charm.
Examples include:
- Stair spindles
- Table legs
- Chair components
- Decorative posts
These pieces often feature intricate details that elevate the appearance of the finished tray.
Salt and Pepper Shakers
A popular budget-friendly trick among DIY enthusiasts involves using decorative salt and pepper shakers as spacers.
These work particularly well when:
- Creating decorative trays
- Building lightweight displays
- Designing vintage-inspired projects
Threaded Rod Systems
For maximum strength, many professionals recommend a threaded rod assembly.
This system uses:
- Threaded metal rod
- Washers
- Nuts
- Decorative top handle
Advantages include:
- Superior stability
- Higher weight capacity
- Food-safe construction
- Long-term durability
Although slightly more complicated, threaded rod systems create the strongest tiered trays.
Adhesives
If you’re choosing a glue-based assembly method, selecting the proper adhesive is critical.
Common options include:
E6000
A favorite among DIYers because it bonds:
- Glass
- Metal
- Ceramic
- Plastic
- Wood
Benefits:
- Strong hold
- Flexible bond
- Water-resistant
- Durable finish
Gorilla Glue
Excellent for:
- Wood
- Metal
- Mixed materials
Offers strong long-term adhesion.
Wood Glue
Perfect for:
- Wood-to-wood connections
- Wooden trays
- Decorative wood components
Provides an extremely strong bond when used correctly.
Epoxy Adhesives
Two-part epoxy products offer:
- Exceptional strength
- Fast curing
- Excellent durability
Ideal for heavier trays.
Essential Tools
Depending on your design, you may need:
- Measuring tape
- Pencil
- Ruler
- Drill
- Drill bits
- Sandpaper
- Clamps
- Paint brushes
- Safety glasses
- Protective gloves
Most homeowners already own many of these basic tools.

Decorative Touches
The details you add can transform a simple tray into a stunning focal point.
This is where your creativity truly shines.
Paint
Paint instantly changes the personality of your tray.
Popular color choices include:
Farmhouse White
Perfect for:
- Rustic kitchens
- Cottage decor
- Seasonal styling
Matte Black
Creates:
- Modern sophistication
- Industrial charm
- Contemporary appeal
Gold Metallic
Adds:
- Luxury
- Elegance
- Glamour
Soft Pastels
Ideal for:
- Spring decor
- Baby showers
- Easter displays
Wood Stain
If using wood, stain highlights natural grain patterns.
Popular stains include:
- Walnut
- Dark oak
- Provincial
- Early American
- Driftwood gray
Staining often produces a more professional appearance than paint.
Decorative Handles
A top handle adds both function and style.
Popular choices:
- Crystal knobs
- Brass handles
- Ceramic pulls
- Vintage drawer knobs
- Wooden finials
The handle becomes a decorative focal point at the top of the tray.
Decorative Feet
Adding feet to the bottom tier can:
- Improve stability
- Elevate the tray
- Create a finished look
Options include:
- Wooden furniture feet
- Rubber bumpers
- Decorative metal feet
- Small bun feet
Beads and Garlands
Many farmhouse decorators love incorporating bead garlands around their tiered trays.
Wooden bead strands add:
- Texture
- Visual interest
- Seasonal flexibility
You can even change bead colors throughout the year.
Stencils and Vinyl Designs
Personalization ideas include:
- Family names
- Monograms
- Seasonal messages
- Holiday themes
- Inspirational quotes
These additions help make your tray uniquely yours.
Design Tips and Safety Notes
Before assembly begins, spending a little extra time planning can dramatically improve the final result. Many common problems—such as wobbling, poor balance, or uneven spacing—can be avoided through proper design preparation.
A professional-looking tiered tray is not just attractive; it is also stable, durable, and safe to use.
Sizing and Symmetry
One of the most important design principles for a 3-tier serving tray is proportion.
The tiers should gradually decrease in size from bottom to top.
This creates:
- Better balance
- Improved stability
- Strong visual appeal
- Easier access to items
Recommended Tier Sizes
A classic arrangement often includes:
- Bottom Tier: 12 inches
- Middle Tier: 10 inches
- Top Tier: 8 inches
This proportion creates a balanced appearance while maximizing usable space.
Other popular combinations include:
- 14”, 11”, 8.”
- 13”, 10”, 7.”
- 12”, 9”, 6.”
The exact measurements matter less than maintaining a consistent size progression.
Maintaining Visual Balance
Avoid:
- Identical-sized tiers
- Oversized top tiers
- Extremely small middle tiers
These designs often appear awkward and can compromise stability.
Height Between Levels
Leave enough clearance for decorative items.
Generally:
- 5–7 inches between tiers works well
- Taller spacing accommodates mugs and decorations
- Shorter spacing suits desserts and small accessories
Proper spacing improves functionality and visual flow.
Secure Assembly and Food Safety
Safety should always be part of your design process. A beautiful tray is useless if it tips over or cannot safely support items.
Test Everything Before Final Assembly
Before applying glue:
- Stack all components
- Check alignment
- Confirm sizing
- Evaluate balance
This simple step can save hours of frustration later.
Centering Matters
Even slight misalignment can create:
- Leaning trays
- Wobbling
- Structural weakness
Measure carefully and double-check all center points before attaching components.
Food Safety Considerations
If serving food directly:
- Use food-safe finishes
- Avoid exposed industrial adhesives
- Choose food-safe sealants for wood
Many DIY trays are best suited for:
- Wrapped foods
- Cupcakes in liners
- Decorative displays
For direct food contact, consider using removable plates or food-safe liners.
Weight Distribution
Always place heavier items:
- On the bottom tier
- Near the center
- Evenly distributed
This significantly improves stability and prevents tipping.
Step-by-Step Building Instructions
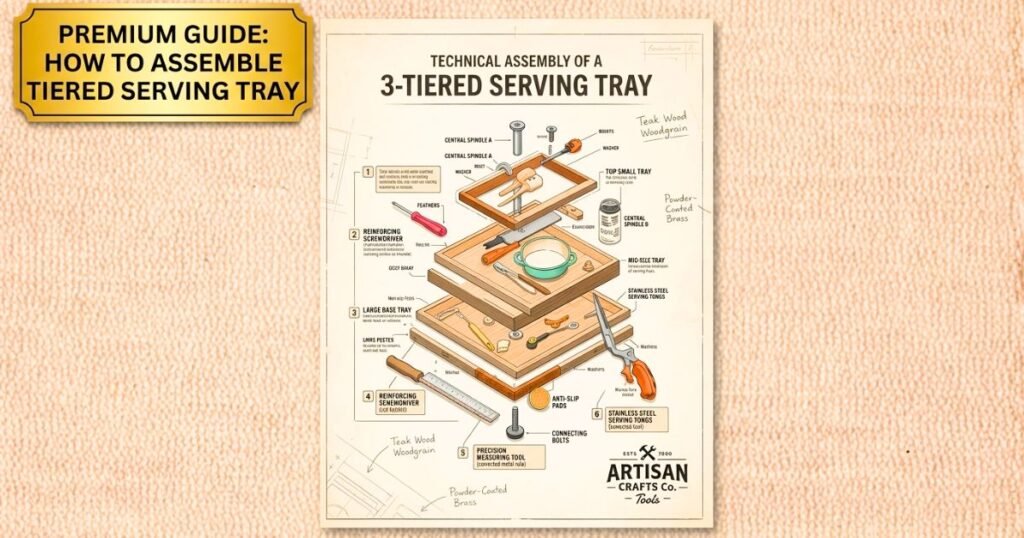
Now that you’ve selected your materials, finalized your design, and gathered your tools, it’s time to begin construction. This is where your collection of plates, wood rounds, trays, or baking pans transforms into a beautiful and functional 3-tier serving tray.
While the assembly process is relatively simple, taking your time and paying attention to detail will make a significant difference in the final result. Professional-looking DIY projects aren’t necessarily built with expensive materials—they’re built with patience, accurate measurements, and proper preparation.
Whether you’re creating a farmhouse-style centerpiece, a holiday display stand, a dessert tower, or an everyday organizational tray, following these steps carefully will help ensure your finished project is sturdy, balanced, and visually appealing.
The construction process can be divided into four major phases:
- Preparing all materials
- Measuring and drilling
- Assembling the tiers
- Finishing and curing
Let’s walk through each stage in detail.
Step 1: Prep and Paint (Optional)
Preparation is often the most overlooked part of DIY projects, yet it’s one of the most important. Proper prep work creates a cleaner finish, stronger adhesion, and a more professional appearance.
Before you glue, drill, stain, or assemble anything, spend time preparing every component individually.
Thoroughly Clean All Materials
If you’re using thrifted or repurposed items, cleaning is essential.
Dust, grease, wax residue, sticker adhesive, and dirt can prevent paint and glue from bonding properly.
For ceramic, metal, or glass pieces:
- Wash with warm water and dish soap
- Remove labels and sticker residue
- Dry completely
- Wipe surfaces with rubbing alcohol
For wooden components:
- Remove dust
- Wipe with a slightly damp cloth
- Allow wood to dry fully before finishing
Even brand-new materials can contain oils from manufacturing that interfere with adhesion.
Sand Wooden Components
If your project includes wooden trays, wood rounds, dowels, or decorative accents, sanding will dramatically improve the final appearance.
Benefits of sanding include:
- Smoother surface
- Better paint adhesion
- More even stain absorption
- Professional finish
Start with medium-grit sandpaper.
Follow with fine-grit sandpaper for a smooth touch.
Pay special attention to:
- Rough edges
- Splinters
- Manufacturing imperfections
- Sharp corners
After sanding, remove dust using a tack cloth or microfiber cloth.
Decide on Your Finish
Before assembly, determine how you want the tray to look.
Common finishing styles include:
Farmhouse White
One of the most popular styles for tiered trays.
Characteristics:
- Bright appearance
- Clean aesthetic
- Works with seasonal decor
- Easy to style
Use matte or chalk paint for a true farmhouse look.
Distressed Vintage Finish
Perfect for:
- Rustic decor
- Cottage interiors
- Vintage-inspired homes
To achieve this look:
- Paint the surface
- Allow it to dry
- Lightly sand edges
- Reveal small areas of underlying material
This creates an aged appearance with lots of character.
Natural Wood Finish
Many homeowners prefer showcasing beautiful wood grain.
Use:
- Wood stain
- Food-safe oils
- Clear polyurethane
Popular stain colors include:
- Walnut
- Espresso
- Provincial
- Driftwood Gray
Natural finishes create timeless appeal.
Modern Matte Black
Black tiered trays remain highly popular because they:
- Match nearly any decor
- Highlight decorative accessories
- Create dramatic contrast
Matte black works especially well in:
- Modern homes
- Industrial interiors
- Minimalist spaces
Metallic Finishes
- Gold
- Bronze
- Copper
- Silver adds elegance.
Metallic finishes work beautifully for:
- Wedding decor
- Holiday displays
- Glam-inspired interiors
- Formal entertaining
Use several light coats rather than one heavy coat.
Painting Tips for Professional Results
To achieve a smooth finish:
- Work in a well-ventilated area
- Apply thin coats
- Allow drying between coats
- Avoid rushing the process
Multiple light coats always look better than one thick coat.
When using spray paint:
- Hold the can 8–12 inches away
- Use sweeping motions
- Rotate pieces frequently
This prevents drips and uneven coverage.
Seal the Finish
For long-term durability, seal painted or stained surfaces.
Common sealers include:
- Polycrylic
- Polyurethane
- Clear wax
- Furniture wax
- Matte topcoats
Sealing protects against:
- Scratches
- Moisture
- Stains
- Wear and tear
This is especially important if your tray will be used frequently.
Allow Complete Drying Time
One of the biggest mistakes beginners make is assembling pieces before the finishes have fully cured.
Even if the paint feels dry:
- Internal curing may still be occurring
- Adhesives may not bond properly
Always follow manufacturer recommendations. Waiting an extra day is far better than ruining your finish.
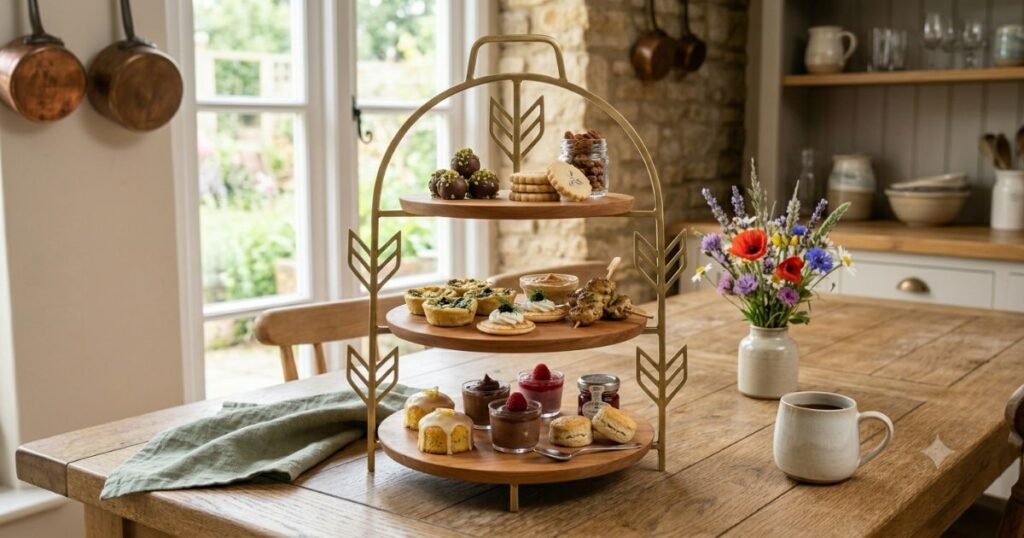
Step 2: Marking & Drilling Center Holes
This step determines whether your finished tray sits straight or leans awkwardly.
Accuracy matters.
A perfectly centered support system creates:
- Better stability
- Improved weight distribution
- Professional appearance
- Easier assembly
Take your time here.
Why Centering Is So Important
The center point acts as the structural axis of your tray.
If holes are off-center:
- Tiers may lean
- Weight becomes uneven
- The tray may wobble
- Stress increases on joints
Even small measurement errors become more noticeable as tiers stack upward.
Finding the Center on Round Trays
For circular plates or wood rounds:
Method 1: Diameter Method
- Measure the diameter.
- Divide by two.
- Mark the midpoint.
- Repeat from another direction.
- Mark the intersection.
This intersection becomes your center point.
Method 2: Template Method
You can also:
- Fold paper circles
- Create templates
- Trace center marks
This method is useful when working with multiple trays.
Finding the Center on Square Trays
For square or rectangular surfaces:
- Draw a line from corner to corner.
- Draw another line between opposite corners.
- The intersection marks the center.
This simple technique is extremely accurate.
Mark Every Tier
Each level needs its own center mark.
Check measurements multiple times.
Remember: The top tray, middle tray, and bottom tray must align perfectly.
Drilling Wooden Components
Wood is the easiest material to drill.
Recommended procedure:
- Secure the piece firmly.
- Use a pilot hole.
- Drill slowly.
- Maintain vertical alignment.
Avoid excessive pressure. Let the drill do the work.
Drilling Ceramic Plates
Ceramics require patience.
Tools needed:
- Diamond drill bit
- Painter’s tape
- Water for cooling
Procedure:
- Apply painter’s tape.
- Mark center.
- Drill slowly.
- Keep the surface cool.
- Avoid forcing the bit.
Rushing increases the chance of cracking.
Drilling Glass
Glass is one of the most challenging materials.
Important precautions:
- Wear safety glasses
- Use diamond bits
- Drill slowly
- Keep it cool
Many DIYers choose adhesive assembly instead of drilling glass.
Drilling Metal Trays
Metal trays require:
- Metal drill bits
- Slow speeds
- Firm clamping
After drilling:
- Remove sharp edges
- Sand burrs
- Clean metal shavings
Safety is especially important here.
Dry-Fit Test
Before proceeding:
- Assemble components temporarily
- Insert rods or screws
- Check alignment
This simple test helps identify issues before final assembly.
Step 3: Assembling the Tiers
Now comes the exciting stage where your project begins to take shape.
Work slowly and methodically.
Proper assembly determines:
- Stability
- Durability
- Appearance
There are two common methods:
- Adhesive assembly
- Mechanical assembly
Adhesive Assembly Method
This is the easiest and most beginner-friendly approach.
Popular adhesives include:
- E6000
- Gorilla Glue
- Industrial epoxy
- Heavy-duty construction adhesive
Attach the Bottom Support
Start with the largest tray.
Apply adhesive to:
- Bottom of candleholder
- Wooden spacer
- Decorative post
Position precisely over the center mark. Press firmly. Hold in place briefly.
Allow Initial Set Time
Most adhesives require:
- Several minutes to grip
- Several hours to strengthen
- Up to 72 hours to fully cure
Read instructions carefully.
Install the Middle Tier
Apply adhesive to the top of the first support.
Carefully position the middle tray.
Check:
- Center alignment
- Level appearance
- Stability
Adjust immediately if needed.
Add Second Support Post
Repeat the process.
Attach support to:
- Center of the middle tray
Allow a brief setting time before proceeding.
Install Top Tier
- Position the smallest tray carefully.
- Check alignment from multiple angles.
- Small corrections are easier now than later.
Mechanical Assembly Method
For maximum strength,
Use:
- Threaded rod
- Washers
- Nuts
Advantages:
- Greater weight capacity
- Food-safe design
- Long-term durability
- Easier repairs
This method is common in commercial tiered trays.
Installing Threaded Rod
Insert rod through:
- Bottom tray
- First support
- Middle tray
- Second support
- Top tray
Secure with washers and nuts. Tighten gradually. Avoid overtightening.
Add Decorative Top Handle
The final hardware component is often a decorative handle.
Popular choices include:
- Crystal knobs
- Brass pulls
- Vintage hardware
- Wooden finials
This adds both style and functionality.
Check Structural Integrity
Before moving forward:
Inspect:
- Connections
- Alignment
- Stability
- Weight balance
Address any issues immediately.
Step 4: Final Assembly and Finishing
The final stage focuses on refinement.
This is where a good DIY project becomes a great one.
Inspect from Every Angle
Place the tray on a flat surface.
View it from:
- Front
- Side
- Rear
- Above
Look for:
- Leaning tiers
- Uneven spacing
- Misalignment
Small adjustments now create a much more professional result.
Reinforce Connections if Necessary
If any joints appear weak:
- Add additional adhesive
- Tighten hardware
- Reinforce support posts
Extra reinforcement is easier now than after decorating.
Clean Excess Adhesive
Use appropriate cleaning methods.
Remove:
- Glue residue
- Fingerprints
- Dust
- Paint smudges
Clean surfaces improve overall appearance.
Apply Final Protective Coat
Optional but recommended.
Benefits include:
- Increased durability
- Easier cleaning
- Better moisture resistance
Apply evenly and allow full curing.
Conduct a Stability Test
Before styling:
Place light items on each tier. Gradually increase weight.
Observe:
- Wobbling
- Flexing
- Tilting
A properly assembled tray should feel secure and balanced.
Allow Full Cure Time
This final waiting period is critical. Even strong adhesives need time to reach maximum strength.
Depending on the products used:
- 24 hours minimum
- 48 hours preferred
- 72 hours ideal
Avoid decorating or carrying the tray prematurely.
Celebrate Your Finished Project
At this point, you have successfully built a custom 3-tier serving tray tailored to your style and needs. Whether your design is farmhouse, modern, vintage, rustic, minimalist, or seasonal, you’ve created a functional decor piece that can be enjoyed year-round.
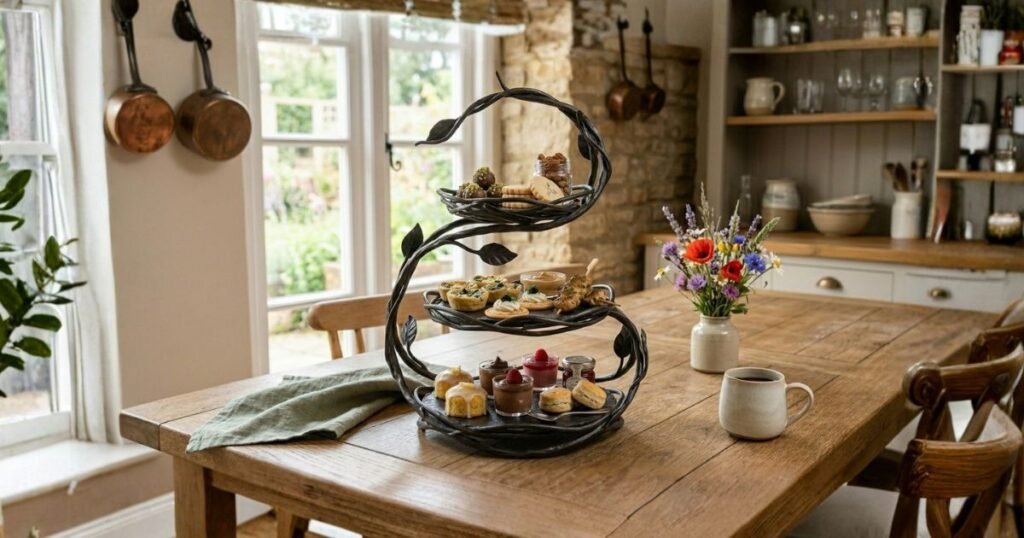
Styling and Uses for Your 3 Tier Tray
Now for the fun part! Your versatile tray can be styled for any purpose or season.
Entertaining/Serving
This is a classic use, perfect as a 3-tier tray for dessert display.
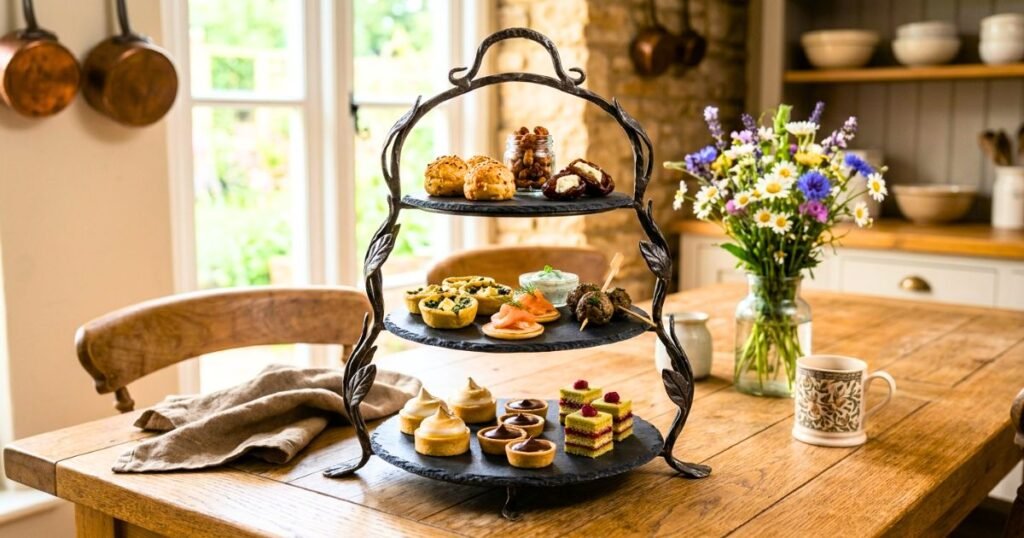
- Sweets: Cupcakes, cookies, macarons, pastries, and brownies.
- Savory: Mini quiches, finger sandwiches, fruit, and cheese.
- Beverages: Use it as a tea or coffee service station with mugs, sugar, and cream.
Everyday Organization
Use your tray to declutter countertops and keep everyday items within reach.
- Kitchen: A coffee station with pods and mugs, a spice holder, or a fruit stand.
- Bathroom: Organize lotions, perfumes, soaps, and other bath products.
- Bedroom/Craft Room: A beautiful stand for jewelry, nail polish, or craft supplies.
Seasonal and Decorative Displays
This is where you can create stunning 3-tier tray centerpiece ideas.
- Fall: Mini pumpkins, gourds, fall leaves, and scented candles.
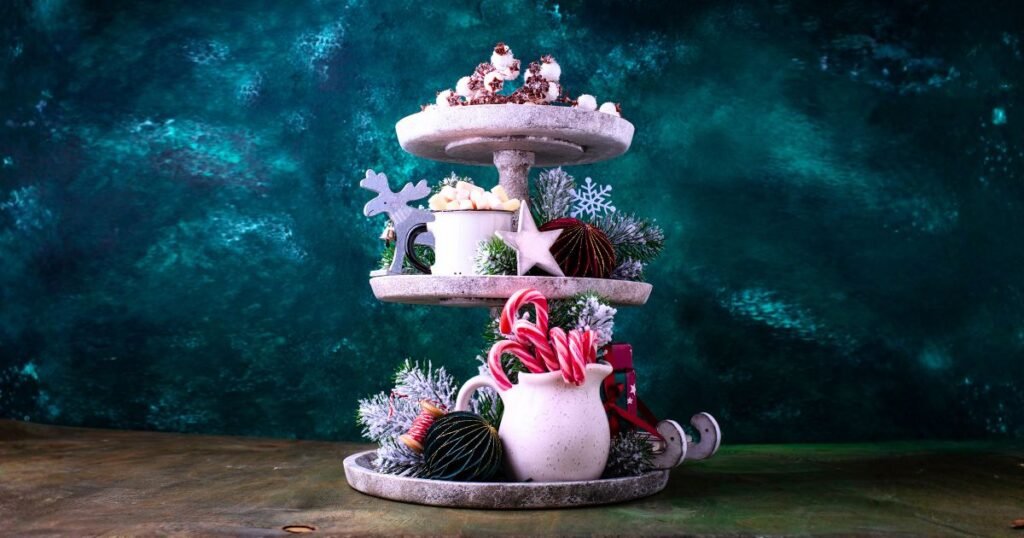
- Winter: Ornaments, faux snow, pinecones, and twinkle lights.
- Spring/Summer: Faux eggs, small nests, succulents, or fresh flowers.
Maintenance, Cleaning, and Care
After investing time and effort into building a beautiful 3-tier serving tray, proper maintenance is essential to ensure it remains sturdy, attractive, and functional for years. Whether your tray is used daily as a coffee station organizer or occasionally as a decorative centerpiece, consistent care will help preserve both its appearance and structural integrity.
Unlike factory-made serving trays, many DIY tiered trays are assembled using adhesives, painted finishes, or repurposed materials. These elements require a little extra attention to prevent damage over time.
Regular Cleaning Practices
The simplest way to maintain your tray is through routine dusting and gentle cleaning.
For decorative displays:
- Dust weekly using a microfiber cloth.
- Remove seasonal decorations periodically to clean hidden areas.
- Use a soft brush to clean detailed decorative elements.
For serving applications:
- Wipe surfaces after each use.
- Remove crumbs and food residue immediately.
- Dry surfaces thoroughly after cleaning.
Avoid allowing moisture to sit on painted or wooden surfaces for extended periods because it can cause swelling, staining, or finish deterioration.
Hand Washing vs. Spot Cleaning
Most DIY trays should never be submerged in water.
Instead:
- Dampen a soft cloth with warm water.
- Add a small amount of mild dish soap if necessary.
- Wipe gently.
- Follow with a clean, damp cloth.
- Dry immediately.
This method protects:
- Adhesive joints
- Painted finishes
- Decorative embellishments
- Wood components
Caring for Painted Trays
Painted trays are among the most popular DIY versions because they can match any decor style.
To preserve paint:
- Avoid abrasive cleaners.
- Do not scrub with rough sponges.
- Keep away from excessive humidity.
- Use felt pads beneath heavy decorative objects.
If scratches occur, keep a small amount of matching paint on hand for quick touch-ups.
Protecting Stained Wood Trays
Wooden tier trays require special attention.
Every few months:
- Apply furniture wax or wood conditioner.
- Inspect for dry spots.
- Re-seal if necessary.
For food-adjacent applications, use food-safe mineral oil on unfinished wood surfaces.
Metal Component Maintenance
If your tray includes:
- Threaded rods
- Decorative handles
- Metal candleholders
- Hardware accents
Inspect periodically for:
- Rust
- Loose fittings
- Tarnish
A quick polish can restore shine and prevent long-term corrosion.
Seasonal Storage Tips
If you rotate seasonal decorations and store your tray between uses:
- Wrap delicate sections with bubble wrap.
- Store upright whenever possible.
- Avoid stacking heavy items on top.
- Keep in a cool, dry environment.
Proper storage prevents accidental bending, cracking, and surface damage.
Extending the Life of Your Tray
Many DIY trays last for years when cared for properly.
Best practices include:
- Avoid overloading weight.
- Lift from the base rather than the top handle.
- Keep away from direct heat sources.
- Check glue joints periodically.
- Tighten hardware when needed.
These small habits significantly increase durability and safety.
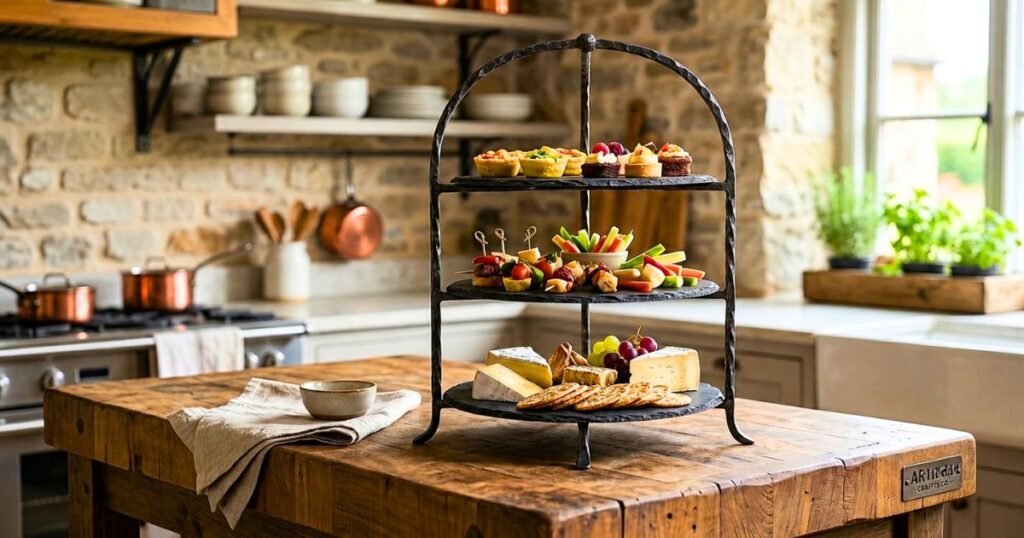
Frequently Asked Questions: How to Make a 3 Tier Serving Tray?
Q1. What is a 3-tier serving tray used for?
- It’s used for serving food, organizing items, or decorating spaces in a vertical, space-saving display.
Q2. Can beginners make a 3-tier serving tray?
- Yes, it’s a beginner-friendly DIY project using simple tools and basic materials like plates and candleholders.
Q3. What materials are best for a DIY tiered tray?
- Wood, ceramic plates, metal tins, and glass dishes are the most popular and durable choices.
Q4. Do I need power tools to build it?
- Not always. Many designs can be made using strong glue only, but drills help for stronger builds.
Q5. What glue works best for tiered trays?
- E6000 or industrial-strength adhesive is best for ceramic, metal, and glass materials.
Q6. How do I keep a tiered tray stable?
- Ensure center alignment, use strong adhesive or threaded rods, and keep the base level.
Q7. Can I use thrifted items for this project?
- Yes, thrifted plates, candleholders, and trays are perfect for budget-friendly DIY builds.
Q8. How tall should a 3-tier tray be?
- Most trays range between 12 and 20 inches tall, depending on design and spacing.
Q9. Can I use a tiered tray for food?
- Yes, but use food-safe materials or place liners like doilies or parchment paper.
Q10. How do I clean a 3-tier serving tray?
- Wipe gently with a damp cloth; avoid soaking or putting it in a dishwasher.
Q11. Can I repaint my tiered tray later?
- Yes, just sand lightly, repaint, and seal it for a fresh look.
Q12. How long does it take to make one?
- Most DIY tiered trays take about 1–3 hours, depending on design complexity.
Conclusion
Learning how to make a 3-tier serving tray is one of the most rewarding DIY projects for home decorators, crafters, and entertainers. It combines creativity, functionality, and affordability into a single project that can completely transform the look of a space.
Whether you choose thrifted plates, rustic wood rounds, vintage baking tins, or modern metal trays, the beauty of a DIY tiered tray lies in its customization. Every design can reflect your personal style, seasonal decor preferences, and entertaining needs.
By carefully selecting materials, ensuring proper measurements, using strong assembly techniques, and following good maintenance practices, you can create a professional-looking serving tray that rivals expensive retail versions. Beyond serving desserts and snacks, your finished tray can become a coffee station organizer, holiday centerpiece, bathroom organizer, farmhouse display, or year-round decorative feature.