How to Transport a Charcuterie Board Safely: 15 Expert Tips
A beautifully arranged charcuterie board can be the centrepiece of any gathering, but getting it from your kitchen to the event without shifting ingredients, melting cheese, or crushing crackers is often the biggest challenge. Whether you’re heading to a birthday party, holiday celebration, picnic, wedding, office event, or family gathering, knowing how to transport a charcuterie board properly ensures it arrives looking just as stunning as when you assembled it.
The good news? You don’t need to be a professional caterer. With the right preparation, storage techniques, and transportation tools, you can safely move your charcuterie board while keeping every ingredient fresh, secure, and picture-perfect.
In this guide, you’ll learn practical tips, expert techniques, and food safety recommendations to transport your charcuterie board confidently for any occasion.
Table of Contents
Why Transporting a Charcuterie Board Can Be Tricky
Unlike most party platters, a charcuterie board contains a mix of delicate ingredients.
Soft cheeses can shift, crackers may break, grapes can roll around, and dips can spill if the board isn’t secured correctly. Even a short drive can ruin a beautifully styled board if it’s not prepared for travel.
Understanding these challenges helps you avoid common mistakes before they happen.
Common Transportation Challenges:
- Cheese slides during turns
- Fruits roll across the board.
- Crackers become stale or broken.
- Herbs lose freshness
- Dips spill
- Meat folds flatten
- Condensation affects presentation
- Food warms beyond a safe serving temperature
Fortunately, each of these problems has a simple solution.
Should You Assemble the Board Before or After Travelling?
This is one of the most frequently asked questions.
The answer depends on how far you’re travelling.
| Travel Time | Recommendation |
| Under 20 minutes | Fully assemble the board before leaving. |
| 20–45 minutes | Assemble most ingredients and add delicate items after arrival. |
| Over 45 minutes | Pack ingredients separately and assemble on-site for the freshest presentation. |
| More than 2 hours | Use insulated coolers with ice packs and transport components separately. |
Expert Tip: If you’re travelling a long distance, carry garnishes, crackers, and herbs separately. Add them just before serving to keep everything fresh and crisp.
Essential Supplies You’ll Need
Having the right tools makes transportation much easier.
Transportation Essentials:
✔ Plastic wrap
✔ Beeswax food wrap
✔ Stretch wrap
✔ Non-slip shelf liner
✔ Large insulated cooler
✔ Ice packs
✔ Food-safe containers
✔ Small jars for dips
✔ Cheese paper
✔ Toothpicks
✔ Extra napkins
✔ Serving utensils
✔ Small cutting board (backup)
These inexpensive supplies can make the difference between a professional-looking board and a messy one.
Choosing the Best Board for Travelling
Not every charcuterie board is designed for transport.
Some are heavy, slippery, or lack raised edges.
Best Types of Boards
Wooden Charcuterie Boards
Pros
- Durable
- Stable
- Attractive
- Easy to grip
Cons
- Heavy for long distances
Bamboo Boards
Pros
- Lightweight
- Affordable
- Easy to carry
Cons
- May scratch more easily
Slate Boards
Pros
- Elegant appearance
Cons
- Heavy
- Fragile
- Not ideal for travel
Serving Trays with Raised Edges
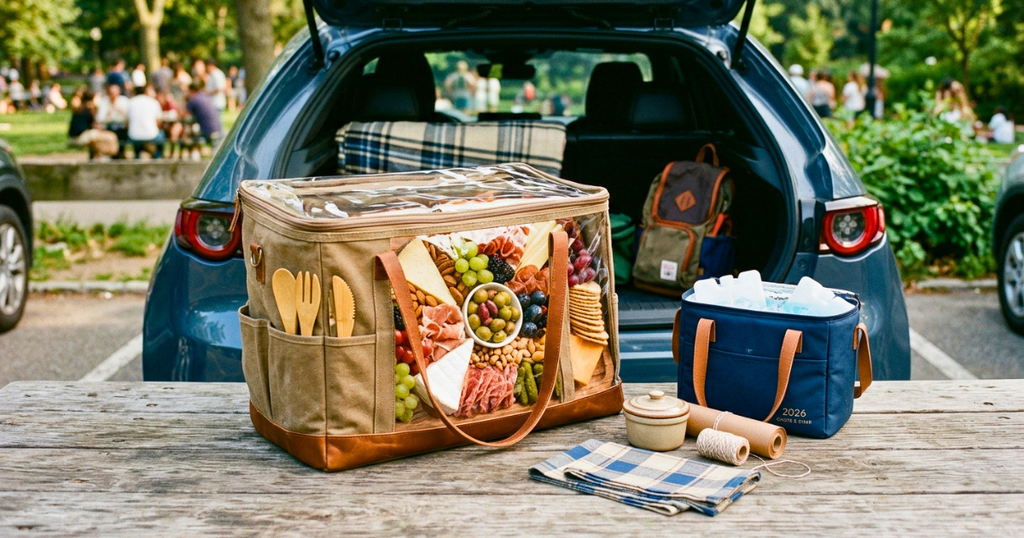
These are among the easiest options for transportation because the edges help prevent food from sliding off.
Comparison Table:
| Board Type | Travel Friendly | Weight | Best For |
| Bamboo | ⭐⭐⭐⭐⭐ | Light | Picnics & Parties |
| Wood | ⭐⭐⭐⭐☆ | Medium | Family Gatherings |
| Slate | ⭐⭐☆☆☆ | Heavy | Indoor Events |
| Tray with Handles | ⭐⭐⭐⭐⭐ | Medium | Large Parties |
How to Secure Ingredients Before Transport?
The biggest mistake people make is assuming food will stay in place.
Instead, build your board with transportation in mind.
Place Heavy Items First
Start with:
- Brie
- Cheddar
- Gouda
- Small bowls
These act as anchors for lighter ingredients.
Fill Empty Spaces
Use smaller ingredients to lock everything together.
Great fillers include:
- Grapes
- Nuts
- Olives
- Dried fruit
- Pickles
This creates a snug arrangement that reduces movement.
Save Delicate Ingredients for Last
Keep these separate if possible:
- Fresh herbs
- Honeycomb
- Edible flowers
- Thin crackers
- Burrata
- Soft berries
Adding them at the venue preserves their appearance.
Step-by-Step: Prepare Your Charcuterie Board for Travel
Step 1 – Chill Everything First
- Cold ingredients are firmer and less likely to shift.
- Place cheeses, meats, and fruit in the refrigerator until you’re ready to leave.
- Avoid assembling a board with warm ingredients.
Step 2 – Assemble the Board Tightly
- Leave very little space.
- A compact arrangement helps keep ingredients from moving.
- Think of it like packing a suitcase—the fuller it is, the less things shift.
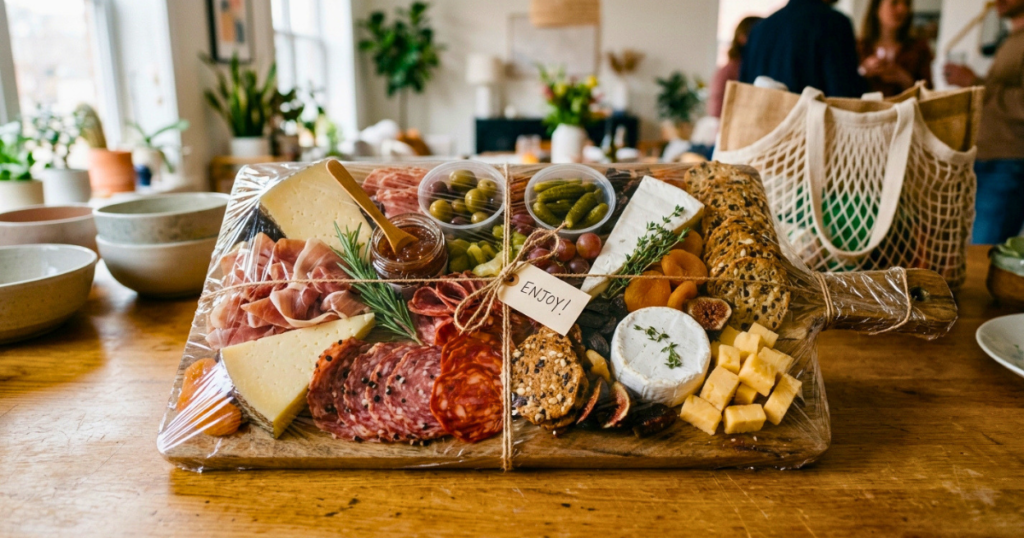
Step 3 – Wrap the Entire Board
Use food-safe plastic wrap or reusable beeswax wrap.
Wrap firmly enough to hold ingredients in place without crushing them.
If using plastic wrap:
- Stretch evenly
- Avoid wrinkles
- Secure underneath the board.
Step 4 – Add an Extra Protective Layer
For longer trips, cover the wrapped board with:
- A clean kitchen towel
- A reusable food cover
- A lightweight box
- A bakery-style cake carrier (if it fits)
This protects the presentation during transport.
Keeping Your Charcuterie Board Cold
Food safety is just as important as presentation.
Perishable foods such as cheese, cured meats, and dips should not remain above 40°F (4°C) for extended periods.
Best Cooling Methods
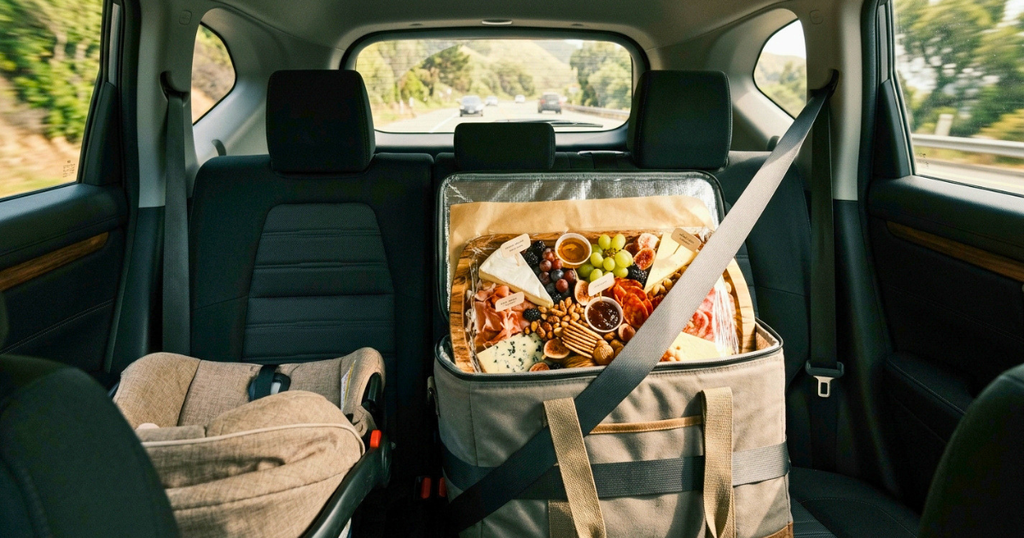
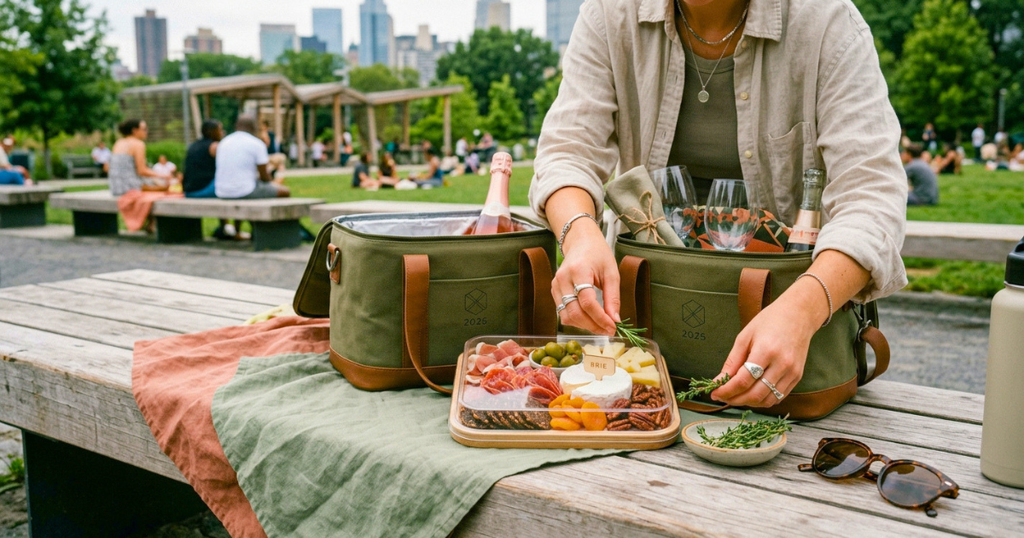
- Place the board inside an insulated cooler.
- Surround it with reusable ice packs.
- Keep the cooler out of direct sunlight.
- Avoid opening the cooler frequently.
If you’re transporting multiple boards, stack them carefully with non-slip mats between each layer.
Best Containers for Small Ingredients
Rather than placing everything directly on the board, transport some ingredients separately.
Store Separately
- Honey
- Jam
- Olives
- Pickles
- Nuts
- Crackers
- Fresh herbs
Small airtight containers prevent spills and help preserve freshness.
Pro Tips From Experienced Hosts
Keep Crackers Separate
- Crackers absorb moisture quickly.
- Transport them in a sealed container and add them when you arrive.
Bring Extra Garnishes
- Fresh rosemary, thyme, edible flowers, or citrus slices can quickly refresh the board if anything shifts during travel.
Carry a Small Repair Kit
Pack:
- Extra cheese slices
- Additional grapes
- Fresh herbs
- Toothpicks
- Paper towels
- Small knife
This allows you to make quick touch-ups before serving.
Do a Final Inspection
Before guests arrive:
✔ Straighten meats
✔ Reposition fruit
✔ Add herbs
✔ Replace broken crackers
✔ Wipe the board edges clean
A two-minute touch-up can make your board look freshly assembled.
Quick Transportation Checklist
| Task | Done |
| Chill ingredients | ✔ |
| Secure heavy items first | ✔ |
| Fill gaps to reduce movement | ✔ |
| Wrap the board tightly | ✔ |
| Pack crackers separately | ✔ |
| Use an insulated cooler | ✔ |
| Bring extra garnishes | ✔ |
| Pack serving utensils | ✔ |
| Carry a repair kit | ✔ |
How to Transport a Charcuterie Board in a Car
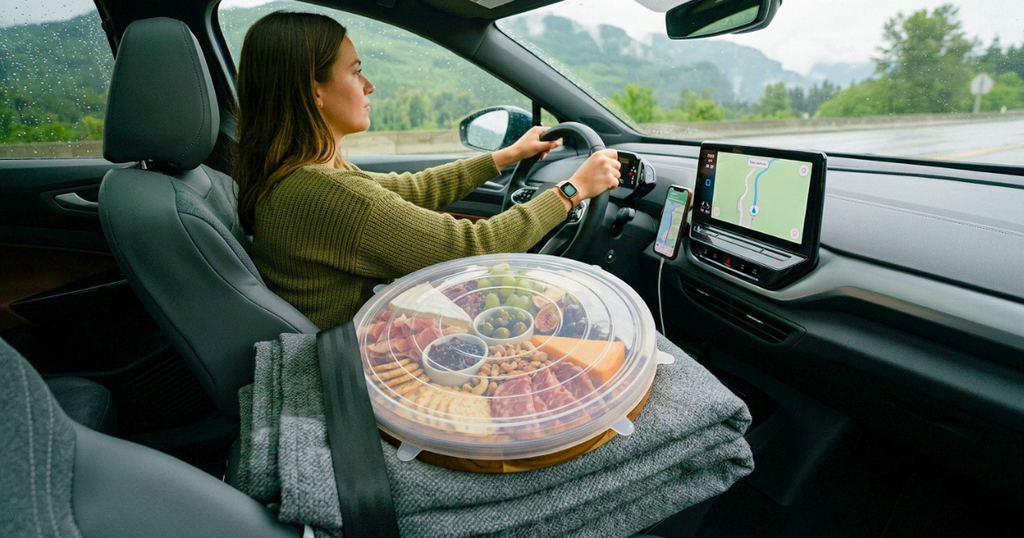
- Most charcuterie boards are transported by car, making this one of the most important skills for any host.
- The goal is simple: keep the board flat, cool, and stable throughout the journey.
Choose the Flattest Surface
Avoid placing your board on a seat whenever possible.
Instead, use:
- The trunk (if it’s level)
- The cargo area of an SUV
- A flat section of the vehicle floor
- A sturdy storage bin to create an even surface
A level surface prevents ingredients from sliding during turns and sudden stops.
Prevent the Board from Sliding
Even a perfectly assembled board can shift if it moves.
Place one of these underneath:
- Non-slip shelf liner
- Silicone baking mat
- Folded kitchen towel
- Rubber drawer liner
These inexpensive items help keep the board securely in place.
Drive Smoothly
Your driving habits affect the presentation more than you might think.
Try to:
- Accelerate gradually
- Brake gently
- Take corners slowly
- Avoid rough roads whenever possible.
Think of your charcuterie board as a decorated cake—it deserves a smooth ride.
How to Transport a Charcuterie Board for Outdoor Events?
Outdoor gatherings add extra challenges like heat, sunlight, wind, and uneven surfaces.
Keep It Cool
- Store the board in an insulated cooler until just before serving.
- If the event is during summer, keep additional ice packs on hand.
Protect It from the Sun
Direct sunlight can quickly soften cheese and dry out meat.
Choose a shaded location or set up under:
- A canopy
- Patio umbrella
- Picnic shelter
- Covered pavilion
Wait to Add Delicate Ingredients
Bring these separately and add them after arriving:
- Fresh herbs
- Edible flowers
- Honeycomb
- Burrata
- Thin crackers
This keeps your board looking fresh and prevents fragile ingredients from being damaged.
Long-Distance Transportation Tips
- Travelling for an hour or more requires a different approach.
- Rather than transporting a fully assembled board, consider packing the ingredients separately.
Pack in Stages
Container 1
- Cheeses
Container 2
- Cured meats
Container 3
- Fresh fruit
Container 4
- Crackers
Container 5
- Jams and spreads
When you arrive, assembling the board takes only 10–15 minutes and results in a much fresher presentation.
Food Safety Tips
A beautiful board should also be a safe one.
Temperature Guidelines:
| Food | Safe Temperature |
| Cheese | Below 40°F (4°C) before serving |
| Cured Meats | Below 40°F (4°C) |
| Dips | Below 40°F (4°C) |
| Fresh Fruit | Chilled until serving |
Avoid leaving your charcuterie board at room temperature for more than 2 hours, or 1 hour if the outdoor temperature exceeds 90°F (32°C).
If you’re hosting a long event, replenish the board in smaller batches instead of leaving everything out at once.
Common Mistakes to Avoid
Many transportation issues can be prevented with a little planning.
| Mistake | Better Solution |
| Using a slippery serving tray | Choose a board with raised edges or add a non-slip mat |
| Packing loose ingredients | Fill gaps so items support each other |
| Forgetting ice packs | Use insulated coolers for perishable foods |
| Transporting crackers uncovered | Keep crackers in airtight containers |
| Adding herbs too early | Garnish after arrival |
| Leaving food in a hot car | Keep ingredients cool and out of direct sunlight |
| Overloading the board | Build a balanced layout with room for serving |
| Skipping a final touch-up | Spend a few minutes refreshing the board before guests arrive |
Professional Caterer Tips
Professional caterers transport food every day, and their methods are surprisingly simple.
Build for Stability
- Arrange heavier ingredients first and use smaller items to lock everything into place.
Carry Extra Ingredients
Bring a small container with:
- Extra grapes
- Additional crackers
- A few cheese slices
- Fresh herbs
- Honey
- Nuts
These can quickly refresh the board if needed.
Keep Cleaning Supplies Nearby
Pack:
- Paper towels
- Food-safe wipes
- Small trash bag
This makes it easy to clean the board before serving.
Photograph the Board Before Leaving
- Take a quick picture before transportation.
- If anything shifts during the drive, you’ll have a reference for restoring the original layout.
Ultimate Transportation Checklist
Before You Leave:
☐ Chill all ingredients
☐ Secure bowls
☐ Fill empty spaces
☐ Wrap the board tightly
☐ Pack crackers separately
☐ Add ice packs
☐ Bring serving utensils
☐ Pack extra garnishes
☐ Carry a repair kit
☐ Load the board onto a flat, non-slip surface
After You Arrive:
☐ Remove wrapping carefully
☐ Straighten meats
☐ Add crackers
☐ Garnish with herbs
☐ Wipe board edges
☐ Serve and enjoy
Frequently Asked Questions How to Transport a Charcuterie Board Safely?
1. What’s the best way to transport a charcuterie board?
- Wrap the board securely, keep it chilled in an insulated cooler, and place it on a flat, non-slip surface during transport.
2. Can I assemble a charcuterie board the night before?
- Yes. Most ingredients can be prepared ahead of time, but add crackers, herbs, and delicate garnishes just before serving.
3. How long can a charcuterie board stay out?
- Generally, no more than 2 hours at room temperature, or 1 hour if it’s very hot outside.
4. Should I wrap my charcuterie board?
- Yes. Plastic wrap or reusable food wraps help keep ingredients secure and fresh during transport.
5. How do I keep cheese from sweating?
- Keep the board chilled until shortly before serving and avoid prolonged exposure to direct sunlight.
6. What’s the safest way to transport soft cheese?
- Place soft cheeses in small bowls or containers and keep them cold until serving.
7. Can I transport a charcuterie board for a picnic?
- Absolutely. Use an insulated cooler, keep delicate ingredients separate, and assemble final touches on-site.
8. Should crackers be placed on the board before travelling?
- It’s best to transport crackers separately so they stay crisp and don’t break.
9. What board is easiest to transport?
- Lightweight bamboo boards or serving trays with raised edges are excellent choices.
10. How do I stop fruit from rolling?
- Use grapes, berries, or small fruits to fill gaps, and nestle them between larger ingredients.
11. Can I freeze cheese before travelling?
- Freezing isn’t recommended because it can change the texture of many cheeses. Chilling is usually enough.
12. What’s the biggest transportation mistake?
- Leaving the board in a hot car. Heat can quickly affect both food safety and presentation.
13. How do professionals transport charcuterie boards?
- They keep boards level, use insulated coolers, carry extra ingredients, and make final adjustments after arrival.
14. Can I transport a charcuterie board on public transportation?
- Yes, but use a sturdy container with a secure lid and keep the board as level as possible throughout the trip.
15. How can I refresh a charcuterie board after travelling?
- Reposition ingredients, add fresh herbs, replace broken crackers, and wipe the edges of the board for a polished finish.
Final Thoughts
Learning how to transport a charcuterie board is just as important as knowing how to build one. A little planning goes a long way toward protecting your hard work and ensuring your board arrives looking fresh, organized, and ready to impress.
Use a sturdy board, chill your ingredients, secure everything with wrap, keep perishable items cool, and save delicate garnishes for the final touch. Whether you’re travelling across town or heading to a picnic, these simple techniques will help you deliver a beautiful charcuterie board with confidence.