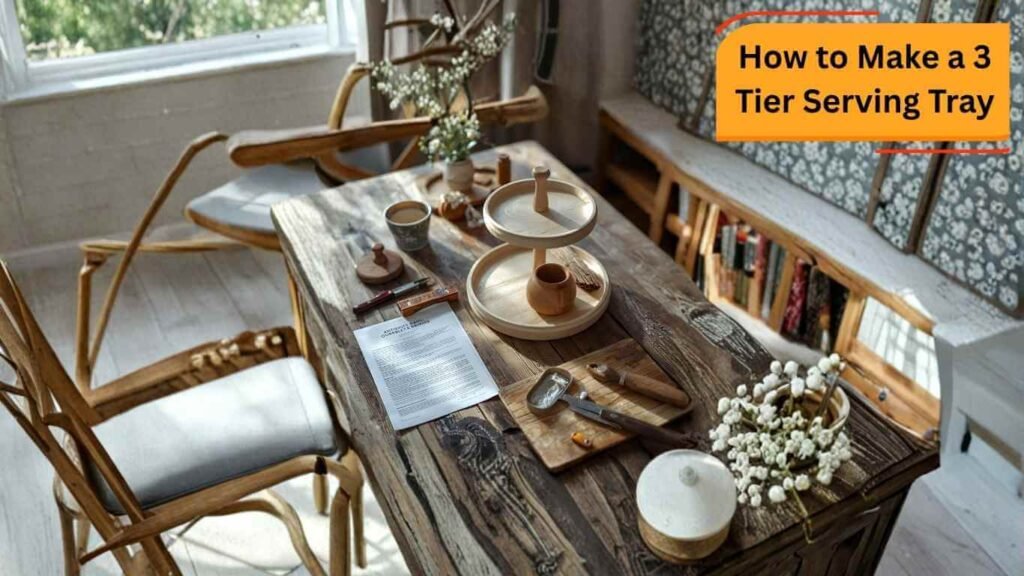
The 3-tier serving tray has become a star player in home decor and entertaining. It’s that beautiful, vertical stand you see gracefully holding cupcakes at a party, organizing a cozy coffee bar, or showcasing seasonal decorations on a kitchen island. Its popularity comes from its brilliant combination of function and style, saving precious counter space while adding a major decorative impact.
While store-bought versions can be pricey, this three tier serving tray tutorial will show you how to create a stunning, custom piece for a fraction of the cost. This project is perfect for DIY beginners and seasoned crafters alike, allowing you to save money and design a tray that perfectly matches your personal style. Let’s get started!
What You Need: Tools and Materials
One of the best parts of this project is its flexibility. You can use brand-new materials or upcycle items you already have.
Tray & Base Options
This is where you can get creative. The “trays” can be almost any flat-bottomed item, but look for materials like ceramic, wood, metal, or glass.
- Plates & Dishes: Scour thrift stores or your own cupboards for mismatched plates.
- Baking Tins: Lightweight pizza pans, cake pans, or pie tins (especially from a dollar store) make a fantastic base for a farmhouse or industrial look. This is the secret to a great Dollar Tree 3 tier tray.
- Wood Rounds: Available at any craft store, pre-cut wood rounds are perfect for a rustic, modern, or boho DIY wooden tier tray.
Center Posts & Hardware
The posts separate your tiers and provide stability. Look for items with flat tops and bottoms.
- Posts: Chunky glass or wooden candleholders are a popular and easy choice. You can also use sections of wooden dowels, old furniture spindles, or even painted-over salt and pepper shakers.
- Adhesives & Hardware:
- Glue: A strong, permanent adhesive is crucial. E6000 is the best glue for tiered tray projects involving non-porous surfaces like ceramic or metal. For wood-to-wood connections, wood glue is also excellent.
- Hardware (for a sturdier build): For a tray that will hold heavier items, consider a mechanical assembly using a threaded rod, nuts, and washers.
- Tools: You will need a drill with various bits, a measuring tape or ruler, and a pencil.
Decorative Touches
This is how you make the tray uniquely yours.
- Paint & Finishes: Spray paint offers a quick, uniform finish (matte black, gold, and farmhouse white are popular). You can also use acrylic craft paint, wood stain, or even Mod Podge to apply fabric or paper designs.
- Accessories: Add small furniture feet to the bottom for elevation, a decorative cabinet knob or handle to the top for easy carrying, or even string wooden beads for a decorative garland.
Design Tips and Safety Notes
A little planning goes a long way in ensuring your tray is both beautiful and stable.
Sizing and Symmetry
For your tray to be balanced and visually appealing, the tiers must be graduated in size. The largest tier should always be on the bottom, with each subsequent level getting progressively smaller.
- Standard Suggestion: A common and stable configuration uses a 12-inch diameter base, a 10-inch middle tier, and an 8-inch top tier.
- Flexibility: Feel free to adjust these sizes based on the materials you find, but always maintain that largest-to-smallest progression for stability.
Secure Assembly and Food Safety
- Test Before Gluing: Always do a “dry fit” by stacking all your pieces without any glue. This allows you to check for wobbles, ensure everything looks centered, and make adjustments before it’s too late.
- Centered Holes are Key: The most important step for stability is ensuring your drilled holes and glued posts are in the exact center of each tray.
- Food Safety: If you use strong industrial adhesives like E6000, your tray is best suited for decorative purposes or for serving food that is wrapped or contained. Do not place unwrapped food directly on a surface secured with non-food-safe glue. For a truly food-safe tray, use a mechanical assembly (threaded rod) and finish any wooden parts with a food-safe oil or sealant. Alternatively, simply use decorative cupcake liners, small doilies, or mini plates on your finished tiers.
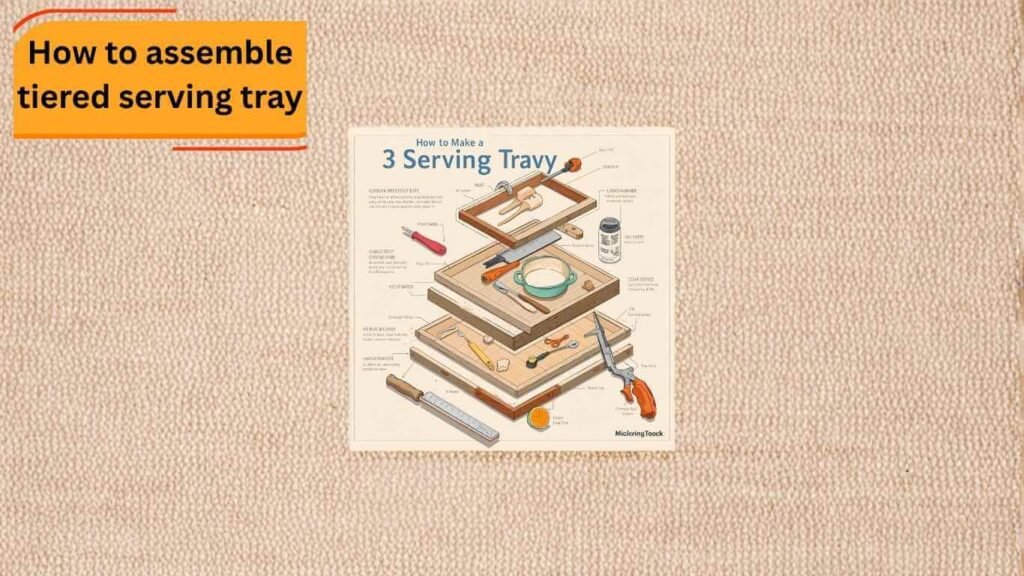
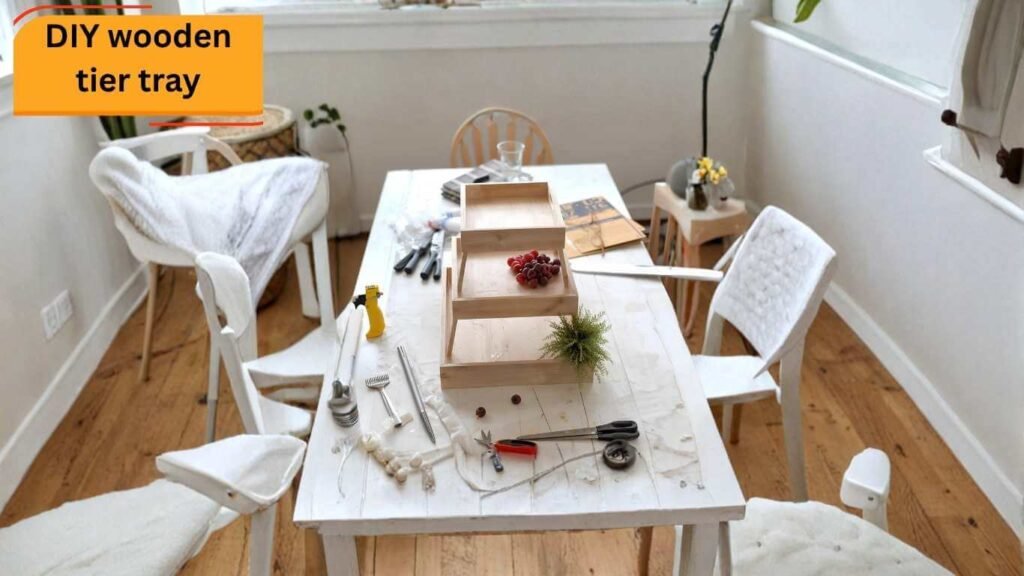
Step-by-Step Building Instructions
This is the complete guide on how to assemble tiered serving tray components into a finished piece.
Step 1: Prep and Paint (Optional)
Before you begin assembly, prepare all your individual components.
- Clean: Thoroughly wash and dry all your plates, tins, and candleholders to remove any dust, stickers, or grime.
- Sand: If you are using wood rounds, give them a light sanding with fine-grit sandpaper for a smooth finish.
- Paint or Stain: In a well-ventilated area, apply your chosen paint or stain to all pieces. It’s much easier to get clean, even coverage before the tray is assembled. Apply in thin coats for a professional look.
- Dry: Let everything dry completely according to the paint or stain manufacturer’s instructions. Don’t rush this step!
Step 2: Marking & Drilling Center Holes
Accuracy here is critical for a stable tray.
- Find the Center: For a round tray, use a ruler to measure the diameter and mark the halfway point. Rotate the ruler 90 degrees and do it again. The intersection of your lines is the center. For a square tray, draw lines from corner to corner; the intersection is the center.
- Drill: Choose a drill bit that matches the size of your screw or threaded rod. If you are only gluing, you can skip this step.
- Pro Tip for Ceramic/Glass: Place a piece of painter’s tape over your mark before drilling. This will prevent the drill bit from slipping and can help reduce the risk of chipping. Start slowly and do not apply too much pressure.
Step 3: Assembling the Tiers
Work from the bottom up for the most stable assembly.
- Attach Feet (Optional): If you are using feet, glue them to the underside of your bottom tier now, ensuring they are evenly spaced.
- Secure the First Post: Apply a generous amount of your chosen adhesive (like E6000 or wood glue) to the bottom of your first post (e.g., a candleholder). Place it directly on the center mark of your largest (bottom) tray. If you drilled holes, secure it from underneath with a screw for extra strength.
- Attach the Middle Tier: Apply adhesive to the top rim of the first post. Carefully lower your middle tier onto the post, aligning the center of the tray with the center of the post.
- Repeat for the Top Tier: Secure your second post onto the center of the middle tier. Then, attach your smallest, top tier onto the second post using the same method.
- Add the Top Knob: Finish by gluing or screwing your decorative knob or handle to the center of the top tier.
Step 4: Final Assembly and Finishing
- Check Alignment: Before the glue sets, step back and look at your tray from all angles to ensure it is straight and not leaning. Make small adjustments as needed.
- Cure Completely: Strong adhesives need time to cure fully. Allow your tray to sit undisturbed for at least 24-72 hours (check the product label) before moving, cleaning, or styling it.
Styling and Uses for Your 3 Tier Tray
Now for the fun part! Your versatile tray can be styled for any purpose or season.
Entertaining/Serving
This is a classic use, perfect as a 3-tier tray for dessert display.
- Sweets: Cupcakes, cookies, macarons, pastries, and brownies.
- Savory: Mini quiches, finger sandwiches, fruit, and cheese.
- Beverages: Use it as a tea or coffee service station with mugs, sugar, and cream.
Everyday Organization
Use your tray to declutter countertops and keep everyday items within reach.
- Kitchen: A coffee station with pods and mugs, a spice holder, or a fruit stand.
- Bathroom: Organize lotions, perfumes, soaps, and other bath products.
- Bedroom/Craft Room: A beautiful stand for jewelry, nail polish, or craft supplies.
Seasonal and Decorative Displays
This is where you can create stunning 3-tier tray centerpiece ideas.
- Fall: Mini pumpkins, gourds, fall leaves, and scented candles.
- Winter: Ornaments, faux snow, pinecones, and twinkle lights.
- Spring/Summer: Faux eggs, small nests, succulents, or fresh flowers.
Maintenance, Cleaning, and Care
To keep your DIY creation looking its best, follow these simple care tips.
- Hand Wash Only: Never put your tiered tray in the dishwasher or submerge it in water, as this will weaken the glue and damage the materials.
- Gentle Cleaning: To clean, simply wipe it down with a soft, damp cloth.
- Seasonal Swapping: Be gentle when swapping out decorations to avoid knocking the tiers or scratching the paint.
Troubleshooting & FAQs
How to fix a wobbly or crooked tray?
Prevention is the best cure. A wobble is usually caused by off-center posts or an uneven surface. If already glued, you may be able to reinforce the joints with more glue at the base of the posts. For a truly sturdy fix, disassembling and re-gluing or switching to a threaded rod assembly is the best option.
Best adhesives for different materials?
Use E6000 or another industrial-strength adhesive for non-porous materials like ceramic, glass, and metal. Use wood glue for wood-to-wood connections. For the strongest possible hold, use a mechanical fastener like a screw or threaded rod in addition to glue.
Can I make a food-safe version?
Yes. To ensure it’s food-safe, either (1) use a threaded rod assembly so no glue touches the serving surfaces and finish wood with a food-safe sealant, or (2) use liners like parchment paper, doilies, or cupcake wrappers on your finished tray.
How much weight can a 3-tier tray hold?
This depends entirely on your materials and assembly method. A tray assembled with only glue is best for lighter items like cupcakes or decor. A tray assembled with a threaded rod and nuts will be significantly stronger and can hold heavier items like mugs or small plants. Always distribute weight evenly.
Conclusion
Creating your own 3-tier serving tray is more than just a craft project; it’s an opportunity to create a functional piece of art that is completely tailored to your home and style. By repurposing thrifted finds or using simple craft store materials, you can build a versatile and beautiful tray that saves you money and brings you joy.
Now that you have the blueprint for success, it’s time to let your creativity shine. Gather your materials, experiment with colors and textures, and build a tiered tray you’ll be proud to display.