How to Make a Wooden Serving Tray: Step-by-Step DIY Tutorial
There is something uniquely satisfying about creating a piece of functional home décor with your own hands. A wooden serving tray is one of the best beginner woodworking projects because it combines practicality, creativity, and craftsmanship in a single build. Whether you plan to use it to serve breakfast in bed, carry drinks to guests, display candles on a coffee table, or organize household essentials, a handmade tray offers far more character than a factory-made alternative.
Unlike mass-produced trays that often use inexpensive materials and generic designs, a DIY wooden serving tray can be customized to match your exact style, size requirements, and home décor. You choose the wood species, handle style, finish color, and decorative details. The result is a one-of-a-kind piece that reflects your personality and woodworking skills.
The project is also an excellent introduction to woodworking fundamentals. During the process, you’ll learn how to measure accurately, make straight cuts, sand surfaces smoothly, assemble components properly, and apply professional-quality finishes. These foundational skills can later be applied to larger woodworking projects such as shelves, tables, cutting boards, and cabinets.
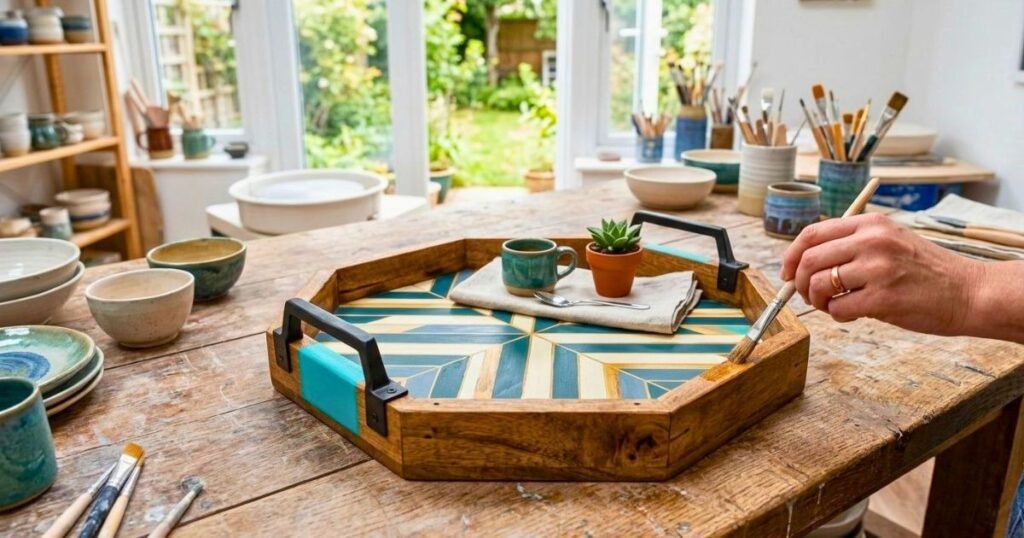
In this comprehensive guide, you’ll learn every step required to build a beautiful wooden serving tray from scratch. From selecting materials and planning dimensions to assembly, finishing, troubleshooting, and long-term maintenance, this tutorial will provide everything a beginner needs to achieve professional-looking results.
Table of Contents
Tools and Materials You’ll Need
Proper preparation is often the difference between a successful woodworking project and a frustrating one. Before making your first cut, gather all necessary tools and supplies. Having everything organized and within reach will save time and improve accuracy throughout the build.
Essential Tools for Beginners
Fortunately, building a serving tray does not require an expensive workshop filled with specialized equipment. Many attractive trays can be built using only a handful of basic tools.
Hand Tools
For those who enjoy traditional woodworking or have limited access to power tools.
The following hand tools are sufficient:
- Pull saw or backsaw
- Sharp chisel set
- Hand drill
- Screwdriver
- Clamps
- Sanding block
- Utility knife
Hand tools offer greater control and are often safer for beginners. They also help develop fundamental woodworking skills.
Power Tools (Optional)
Power tools speed up the process and can improve precision when used correctly.
Helpful power tools include:
- Miter saw
- Circular saw
- Table saw
- Jigsaw
- Router
- Orbital sander
- Drill/driver
While not essential, these tools can significantly reduce project time.
Measuring Tools
Accurate measurements are crucial. Even a small mistake can cause alignment problems during assembly.
Recommended measuring tools include:
- Tape measure
- Combination square
- Speed square
- Marking gauge
- Carpenter’s pencil
Investing in quality measuring tools is often more important than buying expensive power tools.
Safety Equipment
Woodworking safety should never be overlooked.
Always wear:
- Safety glasses
- Dust mask or respirator
- Hearing protection
- Work gloves when appropriate
Protective equipment reduces the risk of injury and helps create a safer workshop environment.
Materials List
The exact materials will vary depending on your tray design, but most projects require:
Wood
Popular beginner-friendly options include:
- Pine
- Poplar
- Birch plywood
- Oak
A typical tray may require:
- One 1×4 board
- One plywood panel for the base
Fasteners and Adhesives
- Wood glue
- Wood screws
- Finish nails (optional)
- Biscuits or dowels (optional)
Handles
Choose from:
- Rope handles
- Metal pulls
- Leather handles
- Cut-out integrated handles
Finishing Supplies
You’ll also need:
- 120-grit sandpaper
- 220-grit sandpaper
- Tack cloth
- Wood stain
- Mineral oil
- Beeswax finish
- Polyurethane (optional)
Cost Breakdown
One reason this project remains so popular is affordability.
Approximate costs:
- Pine wood: $8–15
- Hardware: $5–10
- Finish supplies: $5–15
- Handles: $3–15
Total project cost generally falls between $15 and $40. Compared to premium retail trays, this represents excellent value.
Time Investment
Most beginners can complete the project within:
- 2–4 hours of active building time
- 24–48 hours for glue and finish curing
The entire project can usually be completed over a weekend.
Choosing the Right Wood for Your Serving Tray
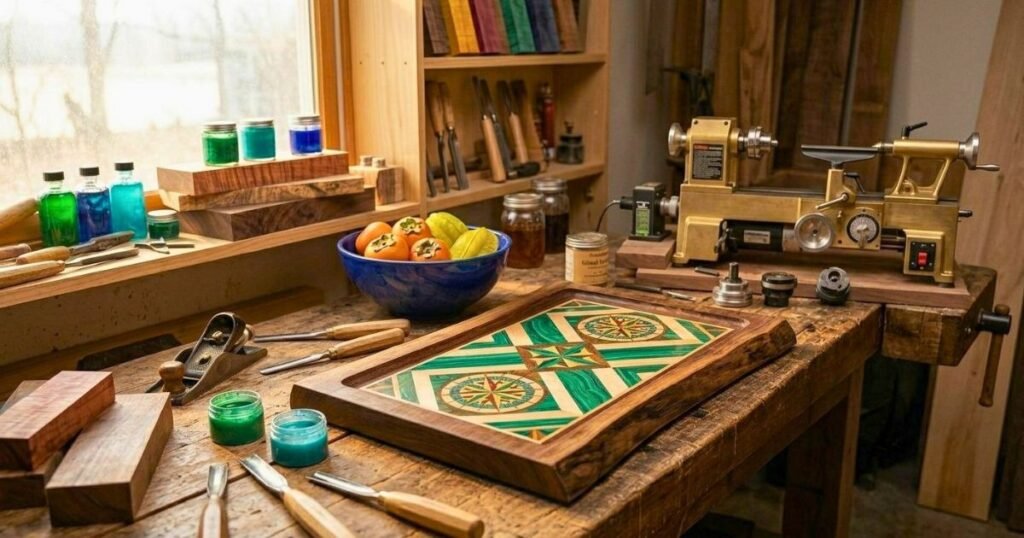
Wood selection is one of the most important decisions you’ll make. Different species offer varying levels of durability, appearance, weight, and cost.
The wood you choose will significantly influence how the finished tray looks and performs over time.
Best Wood Types for Beginners
These woods are affordable, forgiving, and easy to work with.
Pine
Pine remains the most popular beginner woodworking material.
Advantages include:
- Inexpensive
- Readily available
- Lightweight
- Easy to cut
- Easy to sand
Its soft nature makes it ideal for learning woodworking techniques. However, pine dents more easily than hardwoods.
Poplar
Poplar offers a smoother texture and more consistent grain than pine.
Benefits include:
- Easy machining
- Excellent paintability
- Moderate durability
- Affordable pricing
Many woodworkers choose poplar for painted serving trays.
Oak
Oak is a strong hardwood with distinctive grain patterns.
Advantages:
- Highly durable
- Attractive appearance
- Long lifespan
- Excellent stain absorption
Although harder to work with than pine, oak creates extremely durable trays.
Premium Wood Options
For those seeking luxury aesthetics, premium hardwoods offer outstanding beauty.
Walnut
Walnut is widely considered one of the most beautiful woodworking species.
Features:
- Rich dark color
- Elegant grain patterns
- Excellent durability
- Premium appearance
Walnut trays often resemble high-end designer pieces.
Maple
Maple offers a clean and contemporary appearance.
Benefits:
- Dense surface
- Smooth finish
- Light coloration
- Excellent durability
It works especially well in modern interiors.
Acacia
Acacia has become increasingly popular due to its striking grain and sustainability.
Advantages:
- Unique patterns
- High durability
- Moisture resistance
- Distinctive character
Every acacia tray looks slightly different.
Teak
Teak is one of the most durable woods available.
Benefits:
- Natural water resistance
- Outdoor suitability
- Exceptional longevity
- Rich golden-brown color
Although expensive, teak is ideal for serving trays exposed to frequent moisture.
Wood Selection Tips
When shopping for lumber, keep these considerations in mind.
Inspect Every Board
Carefully examine boards for:
- Twists
- Bows
- Warping
- Large knots
- Cracks
Straight boards simplify construction considerably.
Choose Kiln-Dried Lumber
- Kiln-dried wood contains less moisture, reducing future movement and minimizing warping risks.
Consider Grain Patterns
- Attractive grain arrangements dramatically improve appearance.
- Try aligning grain direction consistently across all tray components for a more cohesive look.
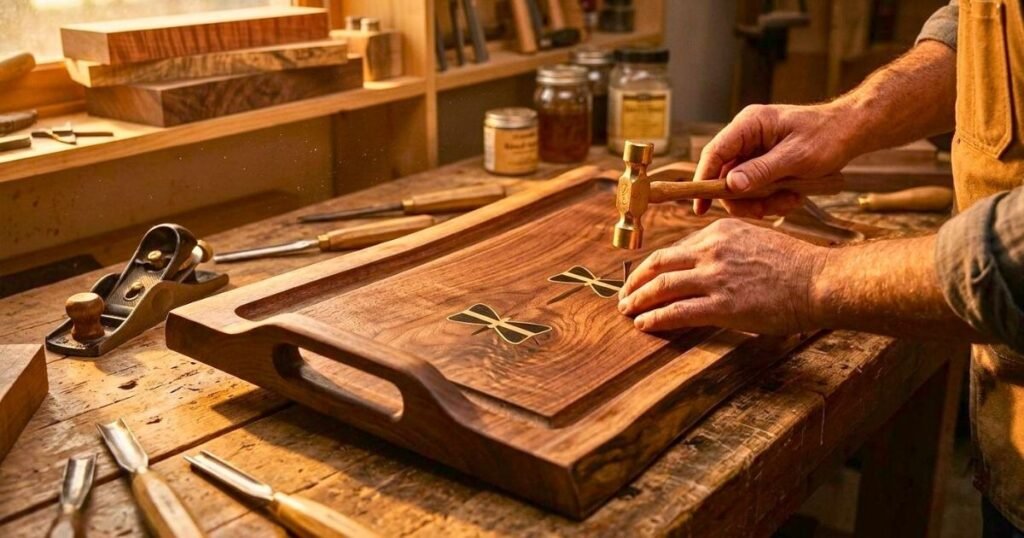
Planning Your Tray Design
- Before cutting wood, invest time in planning.
- A thoughtful design reduces mistakes, minimizes waste, and helps ensure a successful outcome.
- The first question to ask is: How will the tray be used?
- Will it primarily serve food? Function as home décor? Organize items on a coffee table? Be used outdoors?
- The answers influence size, materials, handles, and finishing choices.
Standard Dimensions
The dimensions of your tray should match its intended purpose.
Small Tray
Typical dimensions:
- 12” × 16”
- 14” × 18”
Ideal for:
- Breakfast in bed
- Coffee service
- Personal use
Large Tray
Common sizes:
- 18” × 24”
- 20” × 28”
Perfect for:
- Entertaining guests
- Charcuterie displays
- Cocktail service
- Decorative displays
Depth
Most tray sides range between:
- 2 inches
- 3 inches
This height keeps items secure without making access difficult.
Design Variations
One of the greatest advantages of building your own serving tray is the ability to customize the design. Unlike store-bought options, a DIY tray can be tailored to match your home décor, intended use, and personal style.
Rectangular Tray
The rectangular tray remains the most popular and beginner-friendly design. Its straight cuts make construction simple, and its shape provides maximum usable surface area.
Benefits include:
- Easy to build
- Efficient use of materials
- Suitable for most serving tasks
- Works with nearly any décor style
This design is ideal for first-time woodworkers.
Round Tray
Round trays create a softer, more decorative appearance. They work beautifully as coffee table centerpieces or decorative displays.
Advantages include:
- Elegant appearance
- Unique design
- Excellent for decorative use
However, round trays require additional tools such as a jigsaw or bandsaw and are slightly more challenging for beginners.
Farmhouse Tray
Farmhouse-style trays feature rustic wood, distressed finishes, and often rope handles.
Common characteristics:
- Weathered finishes
- Visible wood grain
- Rustic hardware
- Decorative corner accents
These trays pair perfectly with farmhouse and cottage-style interiors.
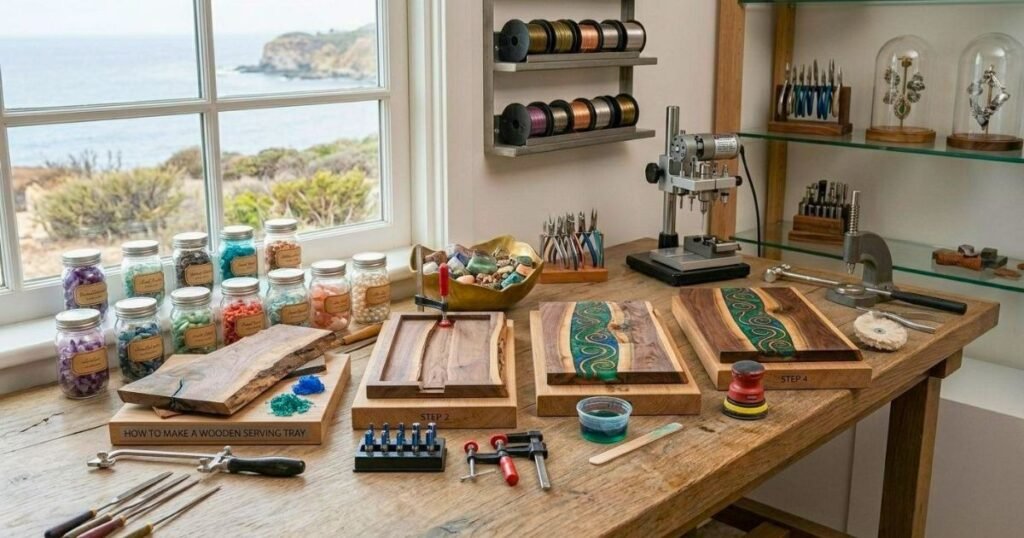
Modern Minimalist Tray
Modern designs emphasize simplicity.
Features often include:
- Clean lines
- Hidden joinery
- Light wood species
- Neutral finishes
Maple and birch are excellent choices for minimalist trays.
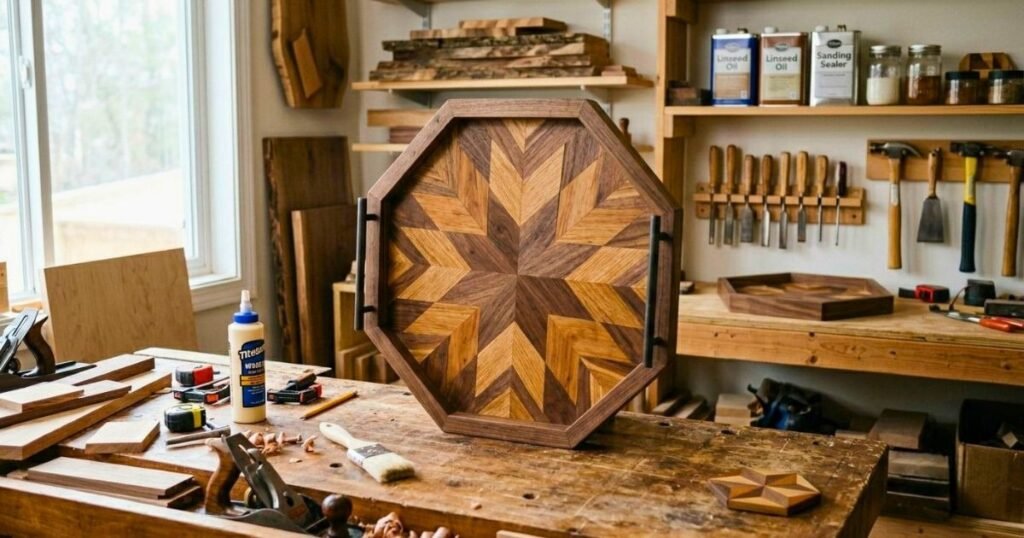
Decorative Pattern Trays
For more advanced woodworkers, decorative bases can transform a simple tray into a statement piece.
Popular options include:
- Herringbone patterns
- Chevron designs
- Geometric layouts
- Mixed wood species
These designs require additional cutting and assembly skills but deliver stunning results.
Handle Options
Handles affect both the functionality and appearance of your serving tray. Choosing the right style depends on how you plan to use the tray and the overall look you’re trying to achieve.
Cut-Out Handles
Cut-out handles are integrated directly into the tray sides.
Advantages:
- Clean appearance
- No additional hardware required
- Durable construction
- Comfortable grip
They are particularly popular in modern and Scandinavian-inspired designs.
Rope Handles
Rope handles provide a rustic and handcrafted appearance.
Benefits include:
- Affordable
- Easy installation
- Comfortable grip
- Farmhouse appeal
Natural jute or cotton rope works especially well.
Metal Handles
Metal pulls create a polished and professional appearance.
Popular finishes include:
- Black matte
- Brushed nickel
- Antique bronze
- Brass
Metal handles offer excellent durability and complement both modern and traditional designs.
Leather Handles
Leather handles have become increasingly popular in contemporary woodworking.
Benefits:
- Unique appearance
- Comfortable grip
- Premium feel
- Stylish design
Vegetable-tanned leather ages beautifully and develops character over time.
Step-by-Step Building Instructions
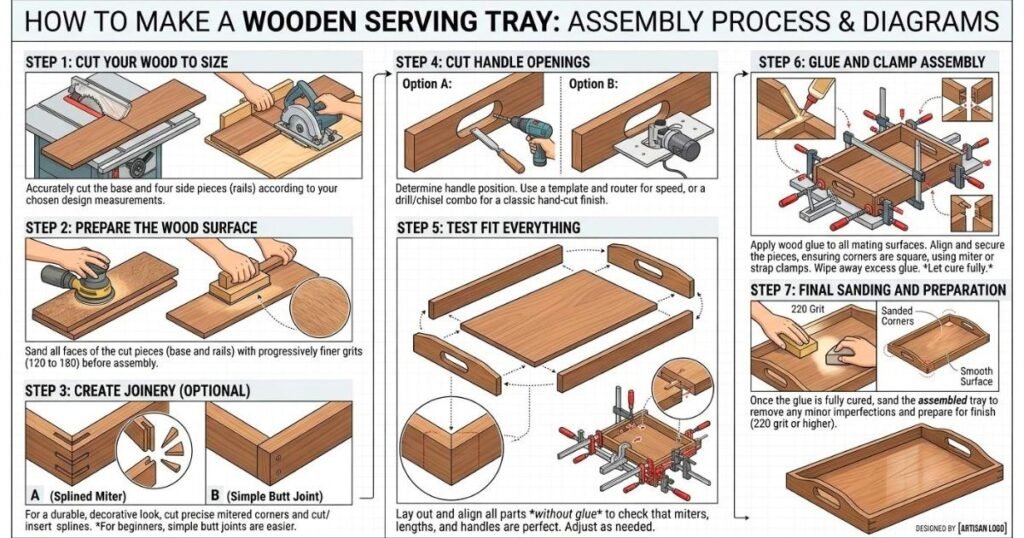
Now comes the exciting part—transforming raw materials into a beautiful finished tray.
Step 1: Cut Your Wood to Size
Begin by carefully measuring and cutting all components.
Typical components include:
- One bottom panel
- Two long side pieces
- Two short side pieces
Always double-check measurements before cutting.
Tips for accuracy:
- Mark cut lines clearly
- Use a square for straight lines
- Support lumber properly during cutting
- Cut slightly oversized if unsure
Remember the woodworking rule: Measure twice, cut once.
Step 2: Prepare the Wood Surface
Before assembly, prepare all surfaces thoroughly.
Start with:
- 120-grit sandpaper
- Follow with 220-grit sandpaper
Focus on:
- Removing saw marks
- Smoothing edges
- Eliminating splinters
- Creating consistent surfaces
Proper sanding significantly improves the final appearance.
Step 3: Create Joinery (Optional)
Joinery determines how tray components connect.
Simple Butt Joints
The easiest method for beginners.
Advantages:
- Quick assembly
- Minimal tools required
- Beginner-friendly
Biscuit Joints
Biscuit joints add strength and improve alignment.
Benefits:
- Stronger corners
- Better glue surfaces
- Cleaner assembly
Pocket Hole Joinery
Pocket holes offer excellent strength while remaining relatively easy to create.
Advantages:
- Hidden fasteners
- Strong joints
- Professional appearance
Mitered Corners
Miter joints create elegant 45-degree corners.
Benefits:
- Seamless appearance
- Professional look
- Enhanced aesthetics
They require greater accuracy but provide exceptional results.
Step 4: Cut Handle Openings
If using integrated handles, create them before assembly.
Procedure:
- Mark handles locations.
- Drill starter holes.
- Use a jigsaw to connect openings.
- Sand edges thoroughly.
Comfort is important, so ensure all edges are smooth and rounded.
Step 5: Test Fit Everything
Dry-fitting prevents costly mistakes.
Before applying glue:
- Assemble all parts
- Check corner alignment
- Verify dimensions
- Confirm squareness
Make adjustments now rather than after the glue-up.
Step 6: Glue and Clamp Assembly
Assembly is where your tray finally takes shape.
Steps:
- Apply wood glue evenly.
- Assemble components carefully.
- Clamp securely.
- Check for a square.
- Remove excess glue.
Avoid excessive glue application. Too much glue creates unnecessary cleanup and can interfere with finishing later. Allow at least 24 hours for full curing.
Step 7: Final Sanding and Preparation
After glue cures:
- Remove clamps
- Sand joints smooth
- Round sharp edges
- Remove dried glue residue
Finish with 220-grit sandpaper for a professional surface. Careful preparation at this stage directly affects the final appearance.
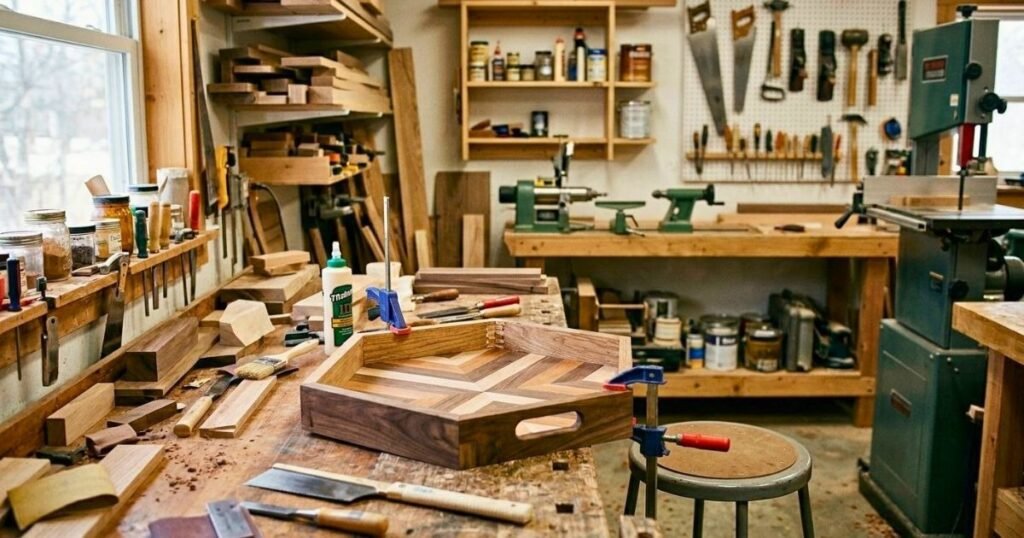
Finishing Your Wooden Serving Tray
A quality finish protects the wood and enhances its beauty. Finishing is often what separates amateur projects from professional-looking pieces.
Staining Options
Wood stain enhances grain patterns while adding color.
Popular stain colors include:
- Golden Oak
- Early American
- Dark Walnut
- Provincial
- Weathered Gray
Pre-Stain Conditioner
Softwoods like pine can absorb stain unevenly.
Using a pre-stain conditioner helps:
- Reduce blotching
- Improve consistency
- Enhance appearance
This simple step often makes a dramatic difference.
Stain Application Tips
For best results:
- Apply evenly
- Work with the grain
- Wipe excess promptly
- Test color first
Always allow adequate drying time.
Food-Safe Finishing
If food may contact the tray directly, choose food-safe finishes.
Recommended options include:
Mineral Oil
Benefits:
- Food-safe
- Easy application
- Affordable
- Readily available
Beeswax
Advantages:
- Water resistance
- Soft sheen
- Natural ingredients
Pure Tung Oil
Benefits:
- Durable finish
- Water resistance
- Natural appearance
Ensure the product is 100% pure tung oil.
Protective Clear Coats
For maximum durability:
Polyurethane
Provides:
- Scratch resistance
- Moisture protection
- Long-lasting durability
Water-Based Polyurethane
Advantages:
- Low odor
- Fast drying
- Clear appearance
Apply multiple thin coats rather than one thick coat.
Maintenance Schedule
Regular maintenance keeps your tray looking beautiful.
Monthly:
- Inspect finish
- Clean thoroughly
Every few months:
- Reapply mineral oil if needed
Annually:
- Deep clean
- Recondition finish
Proper care can extend the life of your tray for decades.
Common Mistakes to Avoid
Many beginner mistakes are easy to prevent.
Planning and Measurement Errors
Common issues include:
- Inaccurate measurements
- Forgetting material thickness
- Ignoring grain direction
- Poor layout planning
Careful preparation eliminates most problems.
Assembly Problems
Frequent mistakes:
- Excess glue
- Weak clamping
- Misaligned corners
- Skipping dry fits
Patience during assembly produces better results.
Finishing Mistakes
Problems often include:
- Inadequate sanding
- Uneven stain application
- Rushing drying times
- Applying thick finish coats
Finishing requires more patience than skill.
Safety Tips for Woodworking Beginners
Safety should always be your highest priority. A successful project is never worth risking injury.
Personal Protective Equipment
Always use:
- Safety glasses
- Hearing protection
- Dust masks
- Closed-toe footwear
Protective equipment should become a habit.
Workshop Safety
Maintain a safe workspace by:
- Removing clutter
- Keeping floors clear
- Organizing tools
- Ensuring adequate lighting
A clean workshop improves both safety and efficiency.
Tool-Specific Safety
Follow the manufacturer’s instructions for every tool.
Important reminders:
- Never remove guards
- Secure workpieces properly
- Disconnect power before adjustments
- Keep your hands away from blades
Respect tools and stay focused while working.
Troubleshooting Common Issues
Even experienced woodworkers encounter challenges. Fortunately, most problems can be corrected.
Assembly Problems
Gaps in Joints
Solutions:
- Wood filler
- Glue and sawdust mixture
- Decorative trim
Small imperfections are often easy to hide.
Uneven Corners: Careful sanding usually corrects minor alignment issues.
Finishing Issues
Blotchy Stain
Cause:
- Uneven absorption
Solution:
- Sand back
- Apply conditioner
- Restain properly
Sticky Finish
Cause:
- Thick application
- Insufficient drying
Solution:
- Allow additional curing time
- Sand lightly if necessary
Long-term Maintenance
Cracking
Typically caused by:
- Dry conditions
- Lack of oiling
Regular conditioning prevents most cracks.
Warping
Causes include:
- Moisture imbalance
- Improper storage
Store trays in stable environments whenever possible.
Design Variations and Upgrades
Once you’ve mastered a basic tray, countless upgrade opportunities become available.
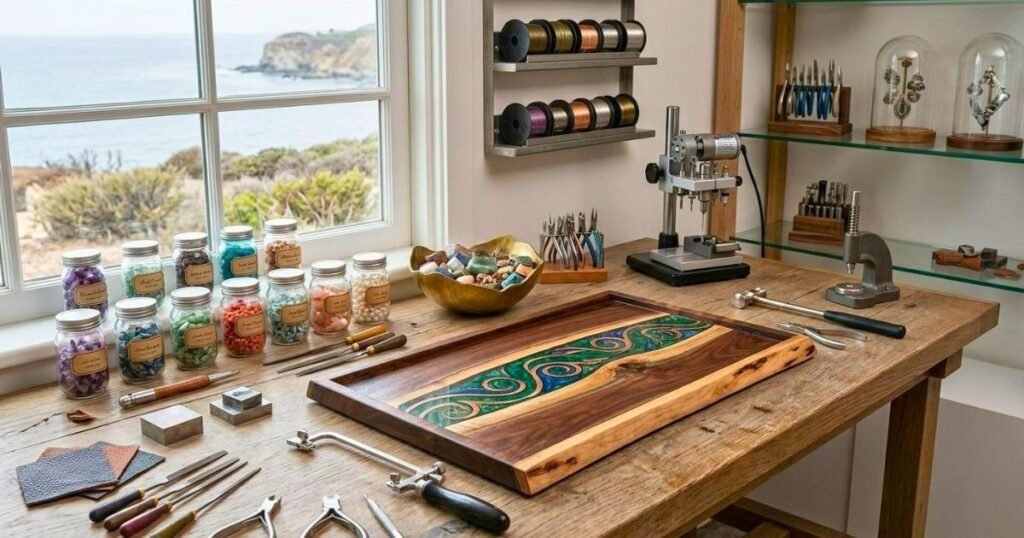
Decorative Techniques
Creative enhancements include:
- Wood burning
- Carved details
- Inlays
- Epoxy accents
- Painted designs
These details create truly unique trays.
Functional Upgrades
Popular upgrades:
Compartments
Organize:
- Utensils
- Condiments
- Snacks
Folding Legs
Transform a serving tray into:
- Breakfast tray
- Laptop desk
- Bed tray
Non-Slip Bottoms
Rubber feet improve:
- Stability
- Surface protection
- Usability
Advanced Joinery Options
As skills improve, consider:
- Dovetails
- Splined miters
- Finger joints
- Rabbet joints
These techniques add both strength and visual appeal.
Cost Analysis: DIY vs. Store-Bought
Many people wonder whether building a tray actually saves money.
The answer is usually yes.
DIY Costs
Typical breakdown:
- Wood: $10–20
- Hardware: $5–15
- Finish: $5–15
Total: $20–50
Store-Bought Comparison
Retail pricing:
- Basic trays: $25–50
- Mid-range trays: $50–100
- Premium handmade trays: $100–200+
DIY projects often provide better materials at lower costs.
Value Benefits of DIY
Advantages include:
- Complete customization
- Skill development
- Higher quality materials
- Personal satisfaction
- Meaningful gifts
The experience itself adds value beyond cost savings.
Frequently Asked Questions: How to Make a Wooden Serving Tray?
Q. Is a wooden serving tray easy for beginners to make?
- Yes. A basic wooden serving tray is one of the easiest woodworking projects for beginners and requires only a few tools and materials.
Q. What is the best wood for a DIY serving tray?
- Pine is the best choice for beginners because it is affordable, easy to cut, and widely available.
Q. How much does it cost to make a wooden serving tray?
- Most DIY wooden serving trays cost between $15 and $40, depending on the wood and hardware used.
Q. How long does it take to build a wooden serving tray?
- The project usually takes 2–4 hours of active work, plus drying time for glue and finishes.
Q. Do I need power tools to make a serving tray?
- No. You can build a serving tray using basic hand tools, although power tools can speed up the process.
Q. What size should a serving tray be?
- A common size is 12 × 16 inches for personal use and 18 × 24 inches for serving multiple items.
Q. What type of handles work best on a serving tray?
- Cut-out handles, rope handles, and metal pulls are all popular options depending on the style you prefer.
Q. Should I use wood glue or screws for assembly?
- Wood glue is essential, and screws can be added for extra strength and durability.
Q. How do I make my serving tray food-safe?
- Apply a food-safe finish such as mineral oil, beeswax, or pure tung oil before using it with food.
Q. Can I stain my wooden serving tray?
- Yes. Wood stain enhances the color and grain of the wood while giving the tray a customized appearance.
Q. How many coats of finish should I apply?
- Most serving trays benefit from 2–3 coats of finish for proper protection and durability.
Q. How do I prevent my tray from warping?
- Use kiln-dried wood, apply a protective finish, and store the tray in a dry environment away from extreme humidity.
Q. Can I use reclaimed wood for this project?
- Yes. Reclaimed wood can create a unique rustic look, but it should be cleaned, dried, and inspected for damage first.
Q. What is the easiest handle option for beginners?
- Rope handles are among the easiest options because they require only a few drilled holes and simple installation.
Q. How do I clean a wooden serving tray after use?
- Wipe it with a damp cloth and mild soap, then dry it immediately to prevent moisture damage.
Q. Can I customize my serving tray design?
- Absolutely. You can personalize it with stains, paint, engraved names, decorative patterns, or unique hardware.
Q. Is a homemade serving tray strong enough for heavy items?
- Yes. When assembled properly with quality wood and strong joints, a DIY serving tray can easily support meals, drinks, and serving dishes.
Q. What is the biggest mistake beginners make?
- The most common mistake is inaccurate measuring and cutting, which can cause alignment issues during assembly.
Conclusion
Building a wooden serving tray is one of the most rewarding beginner woodworking projects available. It combines practical functionality with creative expression while teaching valuable woodworking skills that can be applied to future projects. From selecting the perfect wood species and designing your tray to assembling, finishing, and maintaining it, every step contributes to creating a unique piece that reflects your craftsmanship.
Unlike mass-produced trays, a handmade serving tray offers complete customization, superior materials, and the satisfaction of building something with your own hands. Whether you choose a simple pine design or a premium hardwood masterpiece, the finished product becomes more than just a serving accessory—it becomes a functional piece of art.
Take your time, focus on accuracy, prioritize safety, and enjoy the process. With patience and attention to detail, you’ll create a durable, beautiful serving tray that can be used, displayed, and appreciated for many years to come.