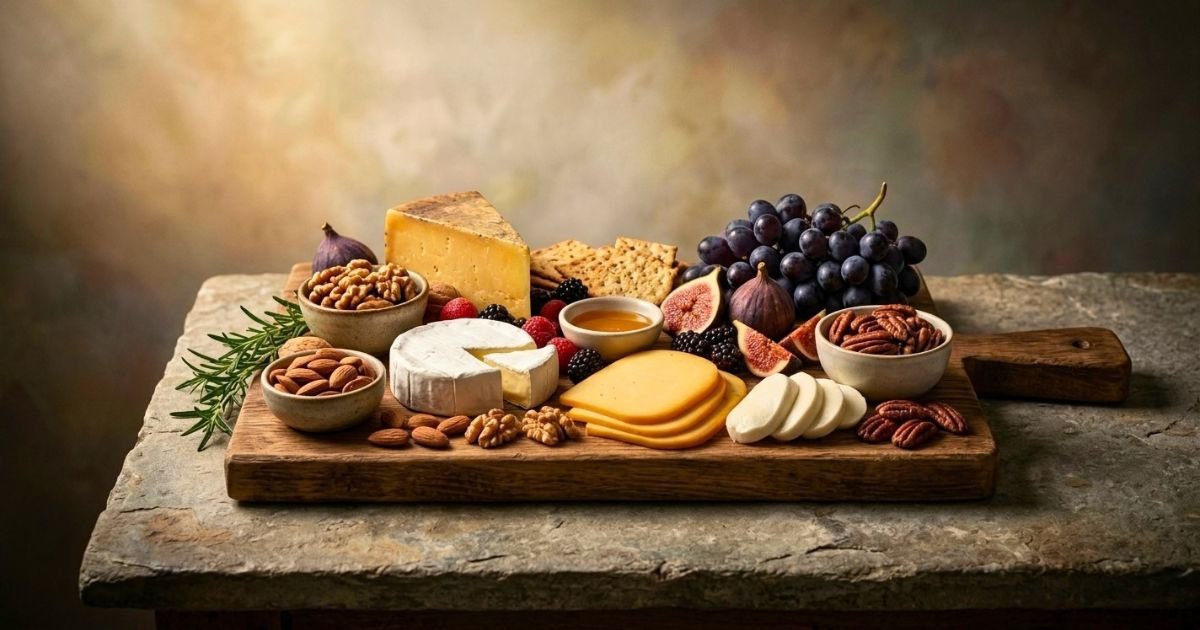
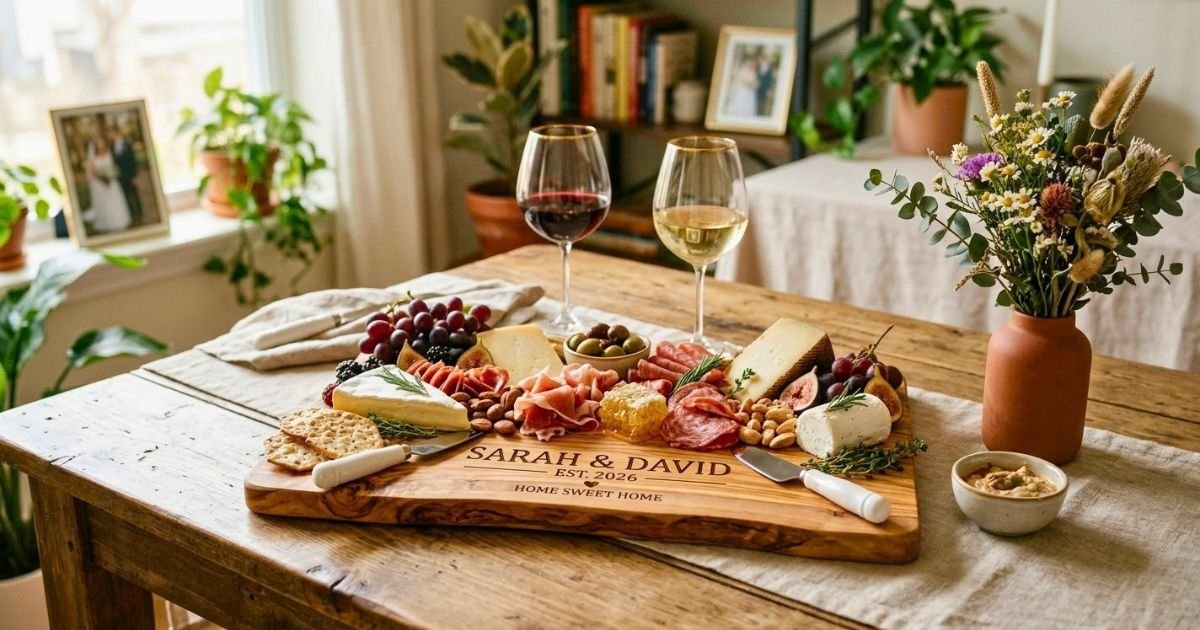
How to Build a Wood Charcuterie Board That Looks Stunning?
Charcuterie boards have become a staple of modern entertaining, transforming simple gatherings into memorable dining experiences. Whether you’re serving artisan cheeses, cured meats, fresh fruit, crackers, or desserts, a handcrafted wooden board instantly elevates the presentation. While there are countless ready-made serving boards available in stores, building your own wooden charcuterie board offers something far more meaningful: complete creative control and the satisfaction of crafting a functional piece with your own hands.
A DIY charcuterie board is more than a woodworking project—it’s an opportunity to create a personalized item that reflects your style, complements your home décor, and serves as a conversation piece for years to come. By selecting your own wood species, shape, dimensions, and finishing details, you can design a board that perfectly suits your entertaining needs. Whether you prefer a rustic live-edge serving tray, a sleek modern cheese board, or a classic paddle-style design, the possibilities are nearly endless. With the right materials, essential tools, and proper finishing techniques, even beginner woodworkers can create a durable, food-safe board that becomes a cherished addition to their kitchen.
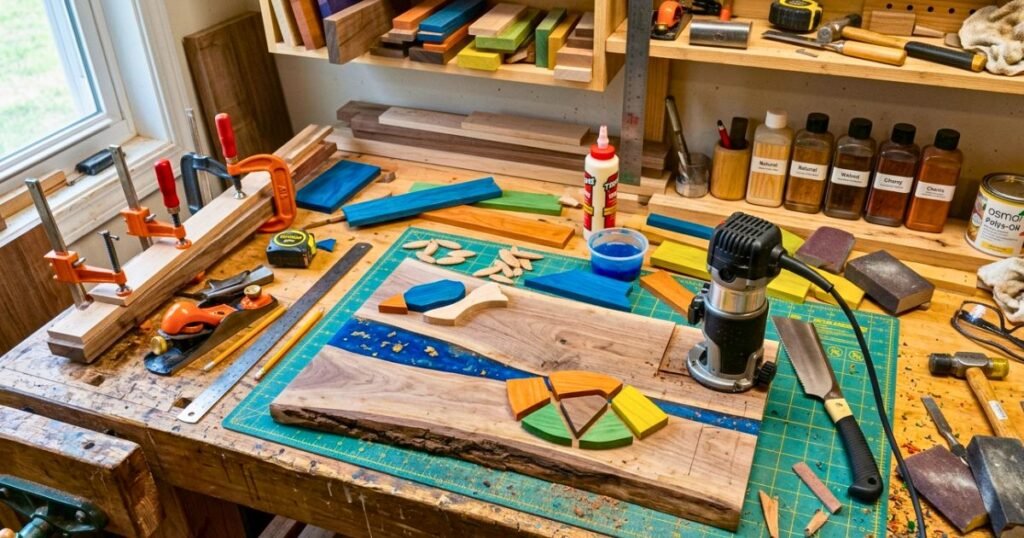
This guide walks you through every stage of the process—from selecting the best wood and gathering tools to shaping, sanding, finishing, and maintaining your handmade creation.
Table of Contents
Materials and Tools Needed
Successful woodworking projects begin with proper preparation. Gathering quality materials and tools before you start ensures a smoother building process and better results.
Choosing the Right Wood
Selecting the appropriate wood species is the most important decision you’ll make. Because your charcuterie board will come into direct contact with food, choose hardwoods that are durable, food-safe, and relatively nonporous. Closed-grain hardwoods resist moisture absorption, making them more hygienic and easier to maintain.
Recommended Wood Species
| Wood Type | Durability | Grain Type | Appearance | Best For |
| Maple | Excellent | Closed | Light and clean | Everyday use |
| Walnut | Excellent | Closed | Rich dark brown | Elegant serving boards |
| Cherry | Very Good | Closed | Warm reddish tones | Rustic designs |
| Oak | Good | Open | Strong grain patterns | Decorative boards |
| Beech | Very Good | Closed | Pale cream color | Minimalist styles |
Walnut
- Walnut is prized for its rich chocolate tones and striking grain patterns. Its natural beauty creates a dramatic contrast with cheeses, meats, and fruit.
Maple
- Hard maple is a traditional favorite because it is exceptionally durable, dense, and resistant to knife marks.
Cherry
- Cherry offers warm, reddish hues that deepen beautifully over time, creating a timeless appearance.
Oak
- Oak is durable and visually appealing, but features a more open grain structure. If using oak, proper finishing and maintenance are especially important.
Wood Selection Tips
- Choose boards at least 1 inch thick.
- Avoid softwoods like pine, cedar, and fir.
- Inspect wood for cracks, knots, and warping.
- Ensure lumber is kiln-dried.
- Consider live-edge slabs for a natural aesthetic.
Tools List
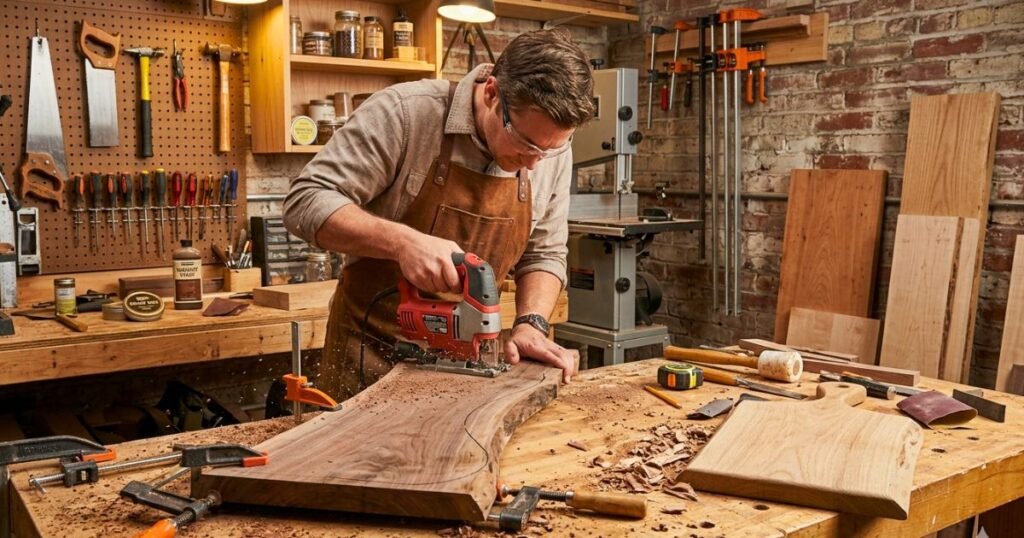
You don’t need a professional workshop to build a beautiful charcuterie board, but a few essential tools will make the process easier.
Measuring and Layout Tools
- Pencil
- Measuring tape
- Carpenter square
- Flexible ruler or template
Cutting Tools
- Jigsaw
- Bandsaw
- Scroll saw
- Circular saw
- Miter saw
- Handsaw
Shaping and Detailing Tools
- Router
- Rotary tool
- Drill
- Card scraper
Sanding Tools
- Palm sander
- Random orbital sander
- Sandpaper (80 to 320 grit)
- Steel wool (#0000)
Safety Equipment
- Safety goggles
- Hearing protection
- Dust mask or respirator
- Work gloves
Cleanup Supplies
- Tack cloth
- Microfiber towels
- Shop vacuum
Finishing Supplies
A quality finish protects your board while highlighting the natural beauty of the wood. Always choose finishes specifically labeled food-safe.
Recommended Finishes
| Finish | Food Safe | Ease of Application | Maintenance Level |
| Mineral Oil | Yes | Easy | High |
| Beeswax Blend | Yes | Easy | Medium |
| Pure Tung Oil | Yes | Moderate | Low |
| Fractionated Coconut Oil | Yes | Easy | Medium |
Additional Supplies
- Disposable foam brushes
- Lint-free cloths
- Small mixing containers
- Soft buffing cloths
Avoid polyurethane, varnish, shellac, and conventional wood stains on food-contact surfaces.
Step-by-Step Instructions for How to Build a Wood Charcuterie Board?
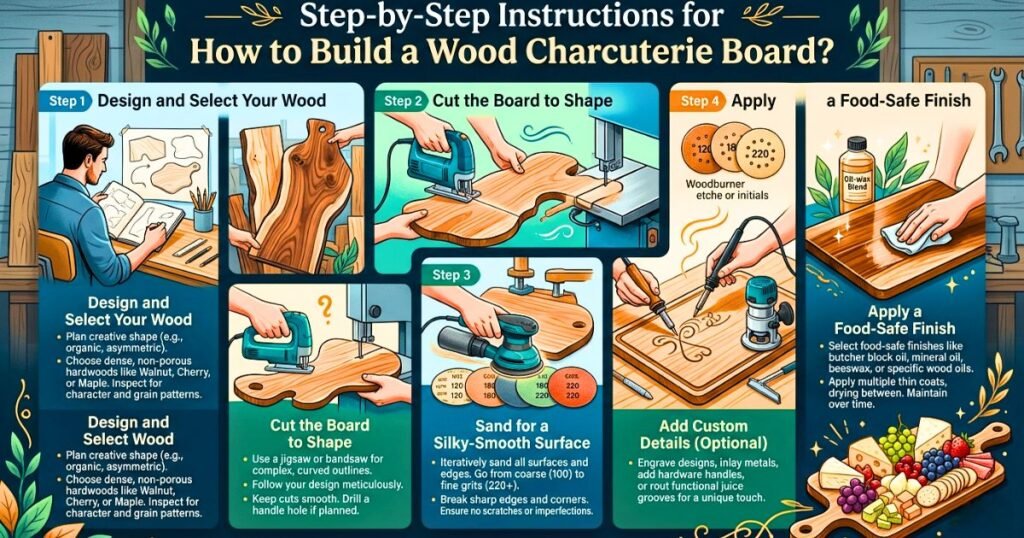
Creating your own charcuterie board is a rewarding process that combines design, craftsmanship, and creativity.
Step 1: Design and Select Your Wood
Begin by deciding how you plan to use the board.
Consider:
- Number of guests
- Storage space
- Serving style
- Decorative preferences
Popular shapes include:
- Rectangular
- Paddle
- Oval
- Round
- Live-edge
- Asymmetrical
Sketch your design directly onto the wood using a pencil and measuring tools. Standard dimensions range between 16 and 24 inches long and 8 to 12 inches wide. Before cutting, inspect the grain direction and identify any imperfections.
Step 2: Cut the Board to Shape
Secure the wood firmly using clamps. Put on your safety goggles and dust mask before making any cuts. Follow your layout lines carefully using your chosen saw.
For straight cuts:
- Circular saw
- Miter saw
For curves and handles:
- Jigsaw
- Bandsaw
- Scroll saw
If adding a hanging hole, use a spade bit or hole saw. Fill any small cracks or voids with food-safe wood filler or wood putty. Allow repairs to dry completely before proceeding.
Step 3: Sand for a Silky-Smooth Surface
Sanding transforms a rough-cut board into a professional-quality serving piece. Never rush this stage.
Recommended Sanding Progression
| Step | Grit | Purpose |
| 1 | 80 | Remove saw marks |
| 2 | 120 | Smooth surface |
| 3 | 180 | Refine edges |
| 4 | 220 | Final smoothing |
| 5 | 320 | Optional polishing |
Sand both faces and all edges evenly.
After reaching 220 grit:
- Lightly dampen the board.
- Allow the grain to rise.
- Sand again using 220 or 320 grit.
Remove all dust with a tack cloth before finishing.
Step 4: Add Custom Details (Optional)
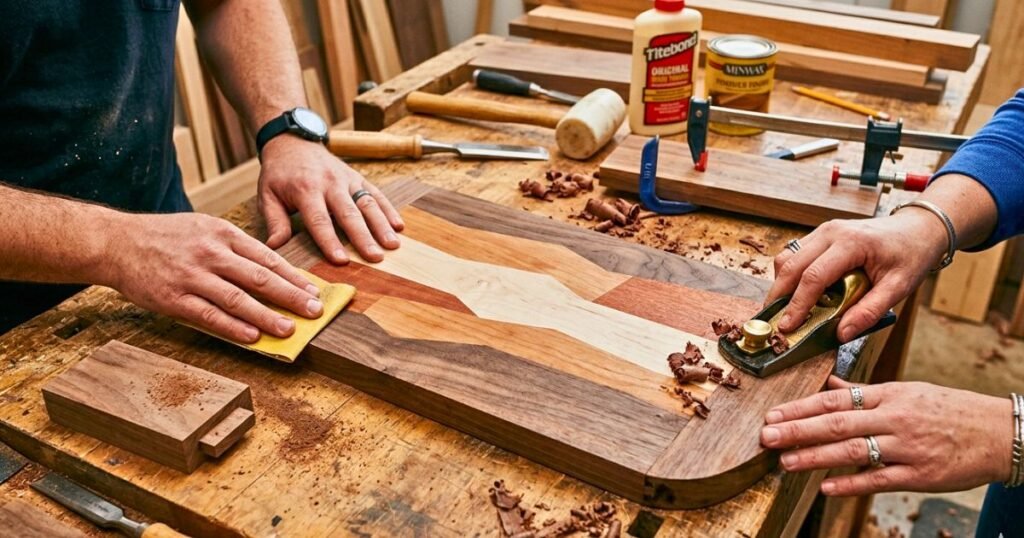
Personalization transforms a functional board into a meaningful keepsake.
Popular customizations include:
- Engraved names
- Family monograms
- Special dates
- Decorative patterns
- Leather hanging straps
- Metal handles
Use a router to create:
- Juice grooves
- Rounded edges
- Finger grips
A rotary tool or wood-burning pen works well for detailed designs.
Step 5: Apply a Food-Safe Finish
Finishing protects your board from moisture and staining while enhancing the grain. Place the board on a protected work surface. Apply mineral oil generously using a lint-free cloth or foam brush. Allow the oil to soak in for at least 30 minutes. Wipe away excess oil. Repeat this process several times until the wood no longer absorbs the finish.
For additional protection:
- Apply a beeswax conditioner.
- Buff with a soft cloth.
- Burnish lightly using #0000 steel wool.
Allow the board to cure overnight before use.
Safety Tips
Woodworking safety should never be overlooked.
Follow these guidelines:
- Wear eye protection during cutting and sanding.
- Use hearing protection around power tools.
- Secure materials with clamps.
- Work in a well-ventilated area.
- Read all tool manuals before use.
- Keep your hands away from moving blades.
- Unplug tools before changing accessories.
- Maintain a clean workspace.
Take your time and avoid rushing. Most accidents happen when woodworkers become distracted or impatient.
Caring for Your Wooden Charcuterie Board
Proper maintenance extends the life and beauty of your handmade board.
Daily Cleaning
- Wash with mild soap and warm water.
- Use a soft cloth or sponge.
- Dry immediately.
Avoid
- Dishwashers
- Long soaking periods
- Harsh chemicals
- Abrasive scrubbers
Removing Odors and Stains
- Sprinkle coarse salt over the surface.
- Rub with half a lemon.
- Rinse lightly and dry thoroughly.
Reconditioning Schedule
| Usage Frequency | Oil Application |
| Weekly use | Every 2–4 weeks |
| Occasional use | Every 2–3 months |
| Decorative only | Twice yearly |
Reapply mineral oil whenever the wood appears dry or dull.
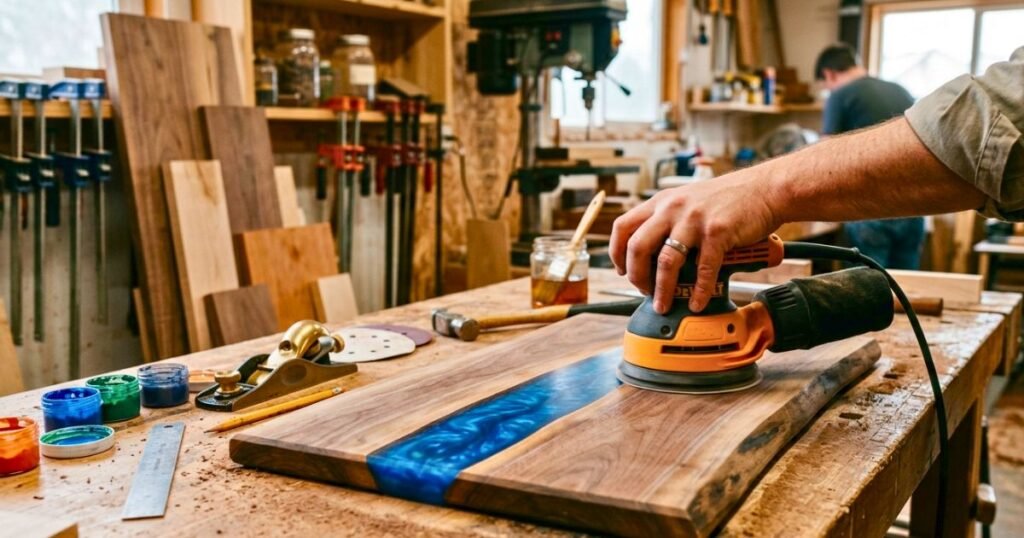
Enjoy Your Handmade Creation
Building your own wooden charcuterie board is a rewarding project that combines practical woodworking skills with artistic expression. Each board you create becomes a unique piece that reflects your craftsmanship and creativity.
Use your handmade board to serve:
- Artisan cheeses
- Cured meats
- Fresh fruit
- Bread and crackers
- Desserts
- Appetizers
Homemade charcuterie boards also make thoughtful gifts for:
- Weddings
- Housewarmings
- Birthdays
- Anniversaries
- Holidays
As your confidence grows, experiment with:
- Exotic hardwoods
- Epoxy accents
- Mixed wood patterns
- Custom engraving
- Live-edge designs
Your first board is only the beginning.
Additional Resources
Expanding your woodworking knowledge helps you improve your skills and tackle more advanced projects.
Recommended Tutorials and Guides
YouTube Channels
- Steve Ramsey – Woodworking for Mere Mortals
- Paul Sellers
- WoodWorkWeb
- Bourbon Moth Woodworking
- Jonathan Katz-Moses
Books
- The Complete Book of Woodworking by Tom Carpenter
- The Woodworker’s Bible by Percy Blandford
- The Essential Woodworker by Robert Wearing
Online Guides
- Family Handyman woodworking library
- Popular Woodworking project archive
- Fine Woodworking tutorials
Communities and Forums
- Reddit: r/woodworking
- LumberJocks
- Instructables Woodworking
- Sawmill Creek Forums
Joining woodworking communities allows you to:
- Share finished projects
- Receive expert feedback
- Learn new techniques
- Discover tool recommendations
- Find creative inspiration
The more you build, the more your skills and confidence will grow.
Frequently Asked Questions: How to Build a Wood Charcuterie Board?
Q1. What is the best wood for a charcuterie board?
- Hardwoods with closed grains, such as maple, walnut, and cherry, are the best choices because they are durable, food-safe, and resistant to moisture.
Q2. How thick should a wooden charcuterie board be?
- A board should be at least 1 inch thick to provide durability and prevent warping over time.
Q3. Can beginners make a charcuterie board?
- Yes. A simple rectangular or paddle-shaped board is an excellent beginner woodworking project.
Q4. What woods should I avoid for food boards?
- Avoid softwoods like pine, cedar, fir, and pressure-treated lumber because they can absorb moisture, scratch easily, or contain harmful chemicals.
Q5. Do I need special tools to make a charcuterie board?
- Basic tools such as a saw, sander, clamps, measuring tape, and sandpaper are enough for most projects.
Q6. Is oak a good choice for a charcuterie board?
- Oak is durable, but its open grain can trap moisture and food particles, so it requires extra sealing and maintenance.
Q7. What grit sandpaper should I use?
- Start with 80-grit sandpaper and gradually progress to 220-grit or finer for a smooth, food-safe finish.
Q8. How do I make the board food-safe?
- Apply a food-safe finish such as mineral oil, beeswax conditioner, pure tung oil, or fractionated coconut oil.
Q9. Can I use polyurethane on a charcuterie board?
- No. Polyurethane and other conventional finishes are not recommended for surfaces that come into direct contact with food.
Q10. How long should I let the finish dry?
- Most food-safe oils should soak in for at least 30 minutes, while some finishes may require overnight curing.
Q11. How often should I reapply oil to the board?
- Reapply oil every 2–4 weeks with regular use or whenever the wood looks dry.
Q12. Can I wash my wooden charcuterie board in the dishwasher?
- No. Dishwashers can cause warping, cracking, and damage to the finish.
Q13. How do I remove stains and odors from the board?
- Sprinkle coarse salt on the surface and rub it with half a lemon, then wipe clean and dry thoroughly.
Q14. Can I personalize my charcuterie board?
- Yes. You can add engraved names, monograms, handles, juice grooves, or decorative edges for a custom look.
Q15. How long does a handmade charcuterie board last?
- With proper care and regular maintenance, a quality hardwood charcuterie board can last for many years or even decades.
Q16. Are live-edge charcuterie boards safe to use?
- Yes, as long as the bark is removed, the wood is properly sanded, and a food-safe finish is applied.
Q17. What size charcuterie board is best for entertaining?
- For small gatherings, a board around 16–18 inches works well, while larger groups may benefit from boards 20–24 inches long.
Q18. Can I combine different wood species in one board?
- Yes. Combining hardwoods like walnut, maple, and cherry creates beautiful contrast and unique designs.
Conclusion
Creating your own wooden charcuterie board is more than a simple woodworking project—it’s an opportunity to combine creativity, craftsmanship, and functionality into a piece you’ll use for years to come. From selecting the right hardwood and gathering essential tools to shaping, sanding, and applying a food-safe finish, every step contributes to a board that is both beautiful and practical.
One of the greatest advantages of making your own charcuterie board is the ability to customize every detail. You can choose the perfect wood species, design a shape that suits your entertaining style, and add personal touches like engraved initials, decorative handles, or live-edge features. The result is a one-of-a-kind serving piece that reflects your personality and enhances every gathering.
Remember that patience and preparation are key to achieving professional-quality results. Taking the time to measure carefully, sand thoroughly, and apply multiple coats of food-safe finish will ensure your board remains durable, hygienic, and visually appealing for years.
Proper maintenance is equally important. Regular cleaning, periodic oiling, and thoughtful storage will preserve the wood’s natural beauty and extend the life of your handmade creation.
Whether you’re crafting a charcuterie board for your own home or creating a meaningful gift for someone special, the process is as rewarding as the finished product. Every board tells a story of skill, creativity, and attention to detail.